
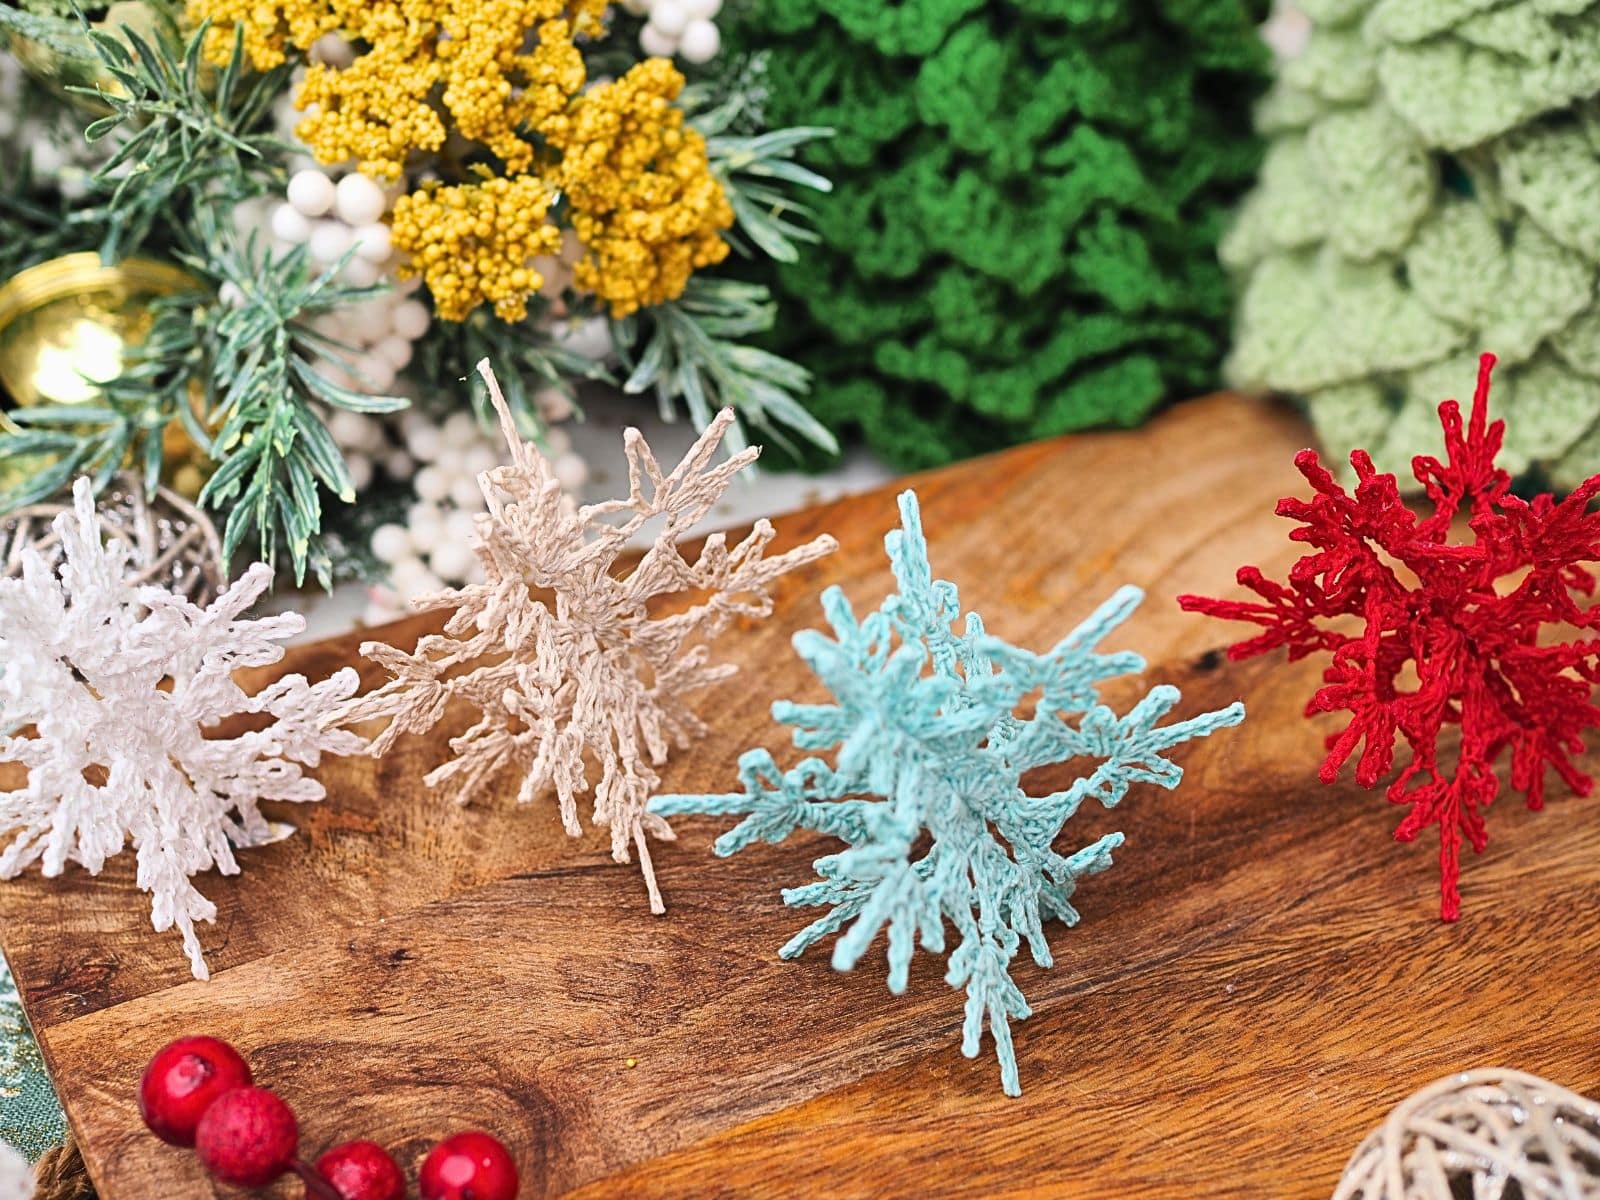
Create magical winter decorations with this stunning three-dimensional snowflake pattern that’s way easier than it looks!
Introduction
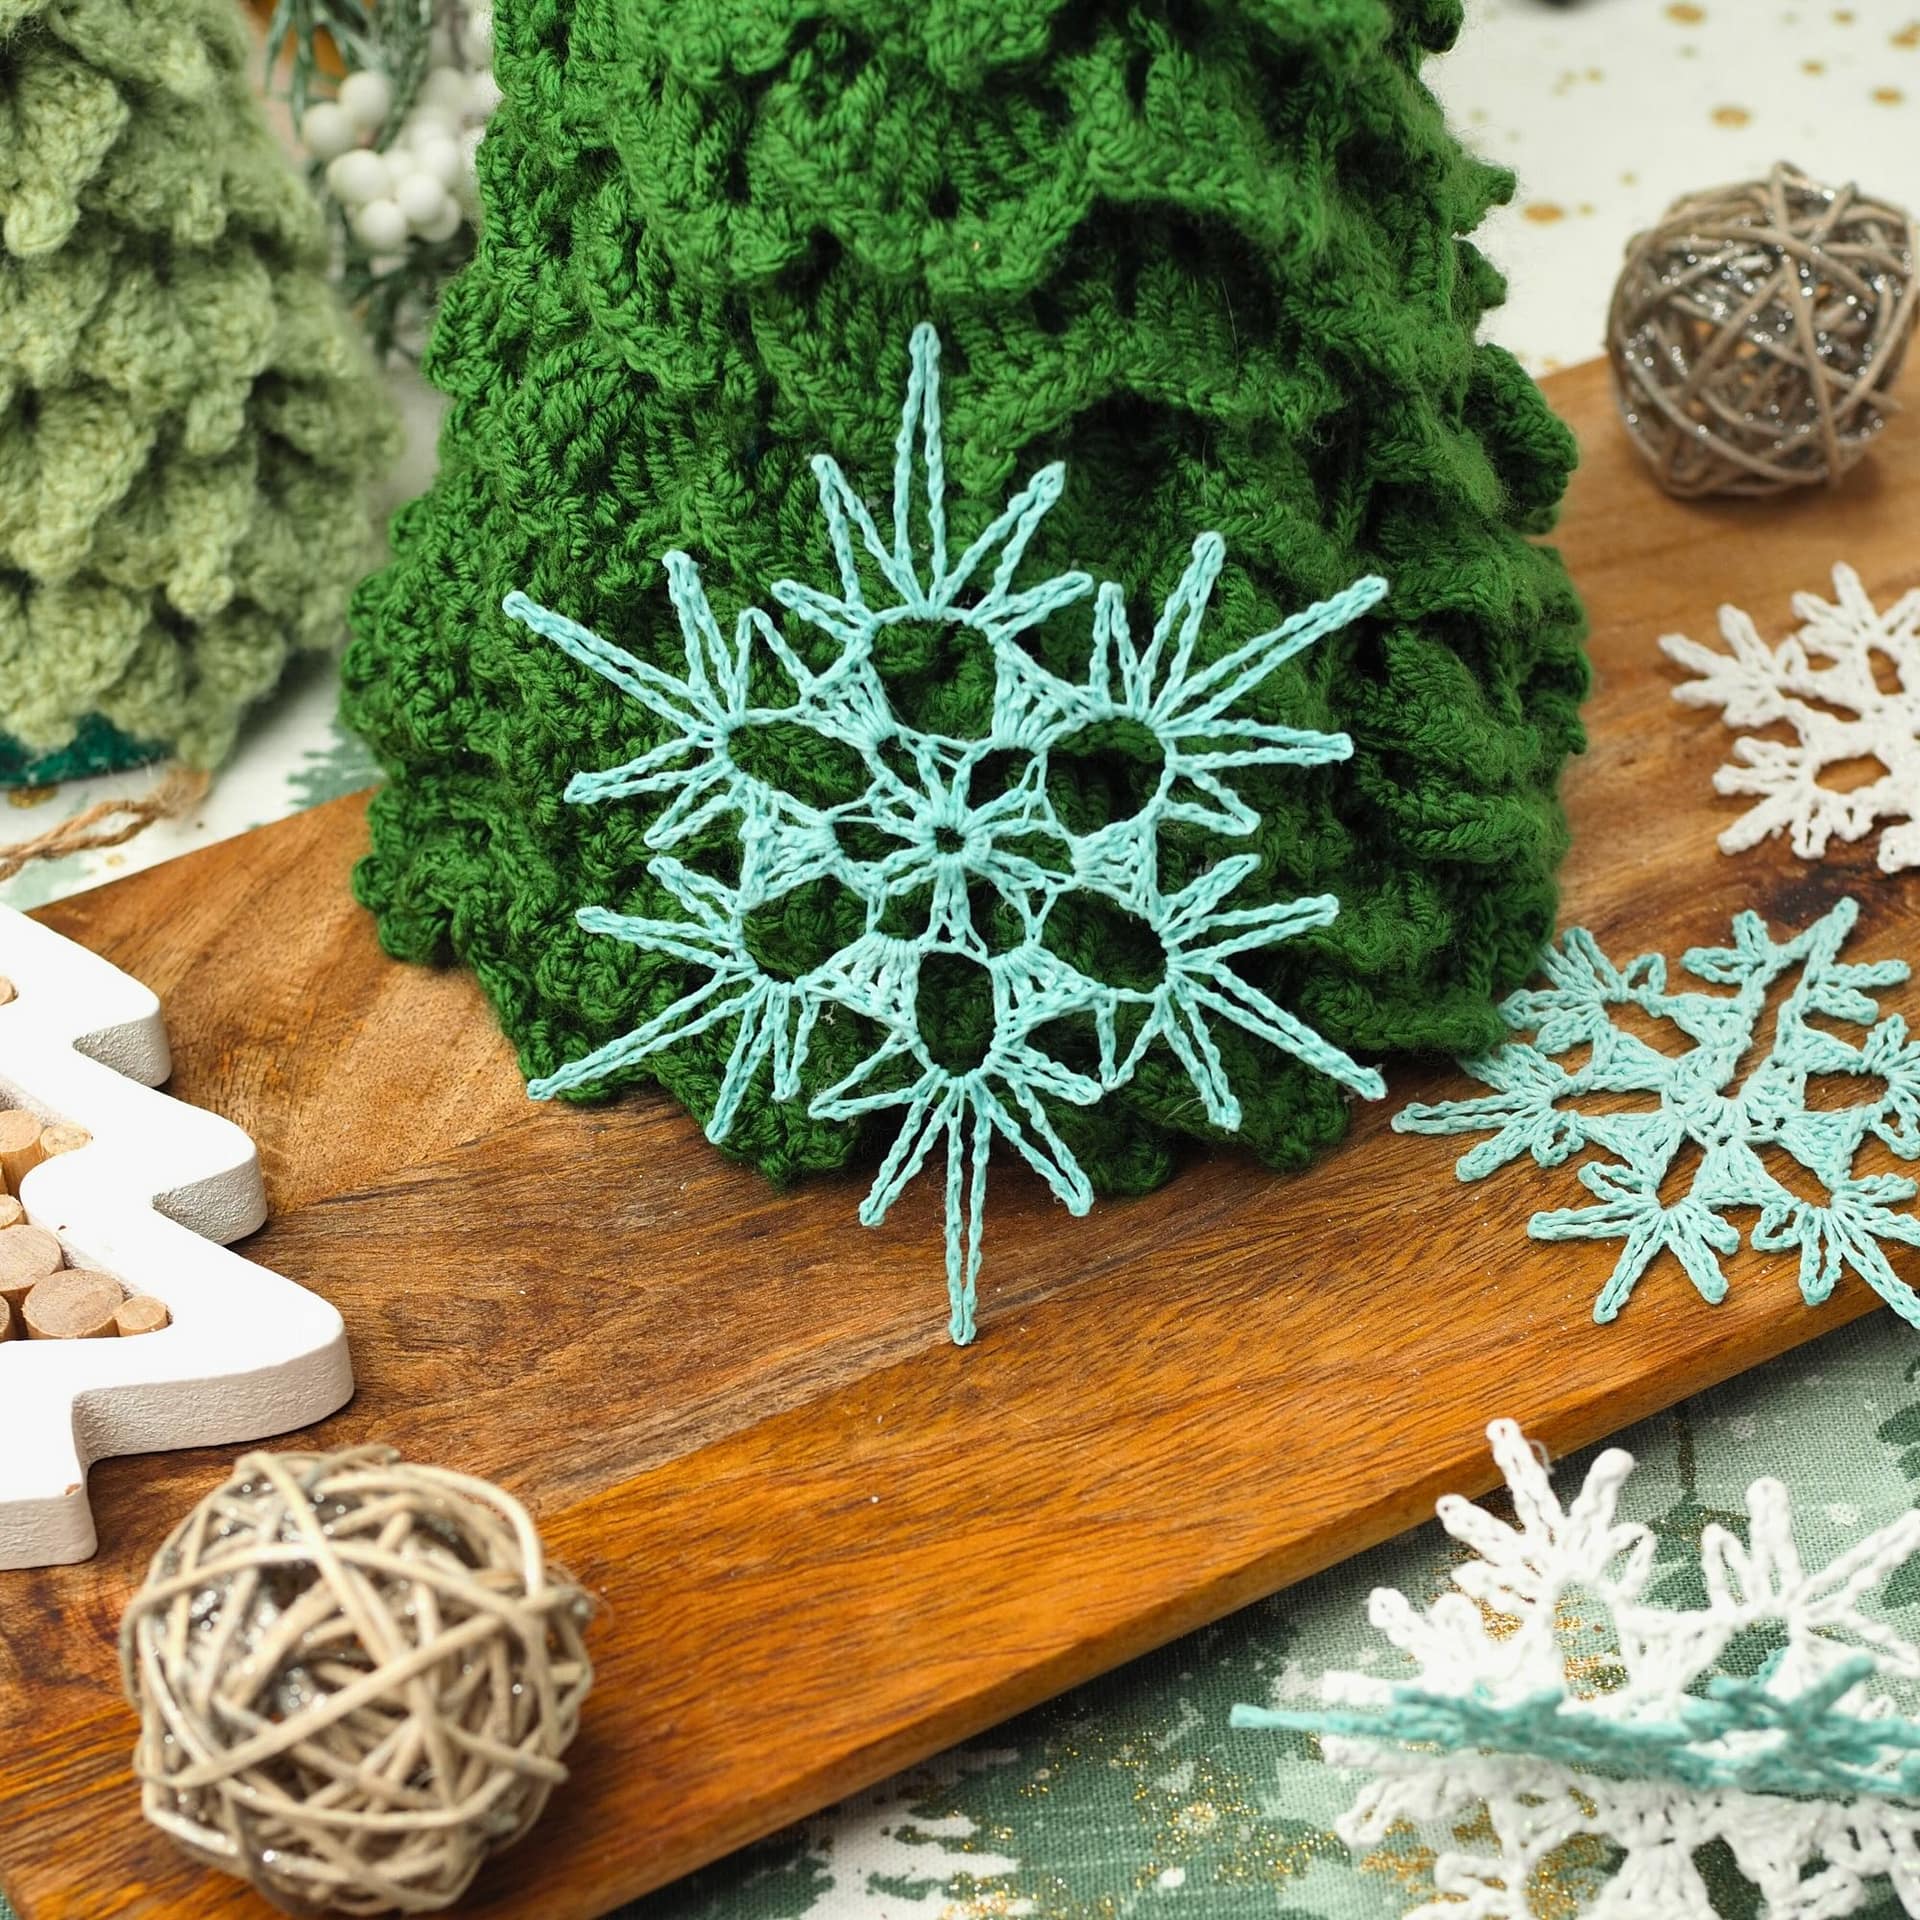
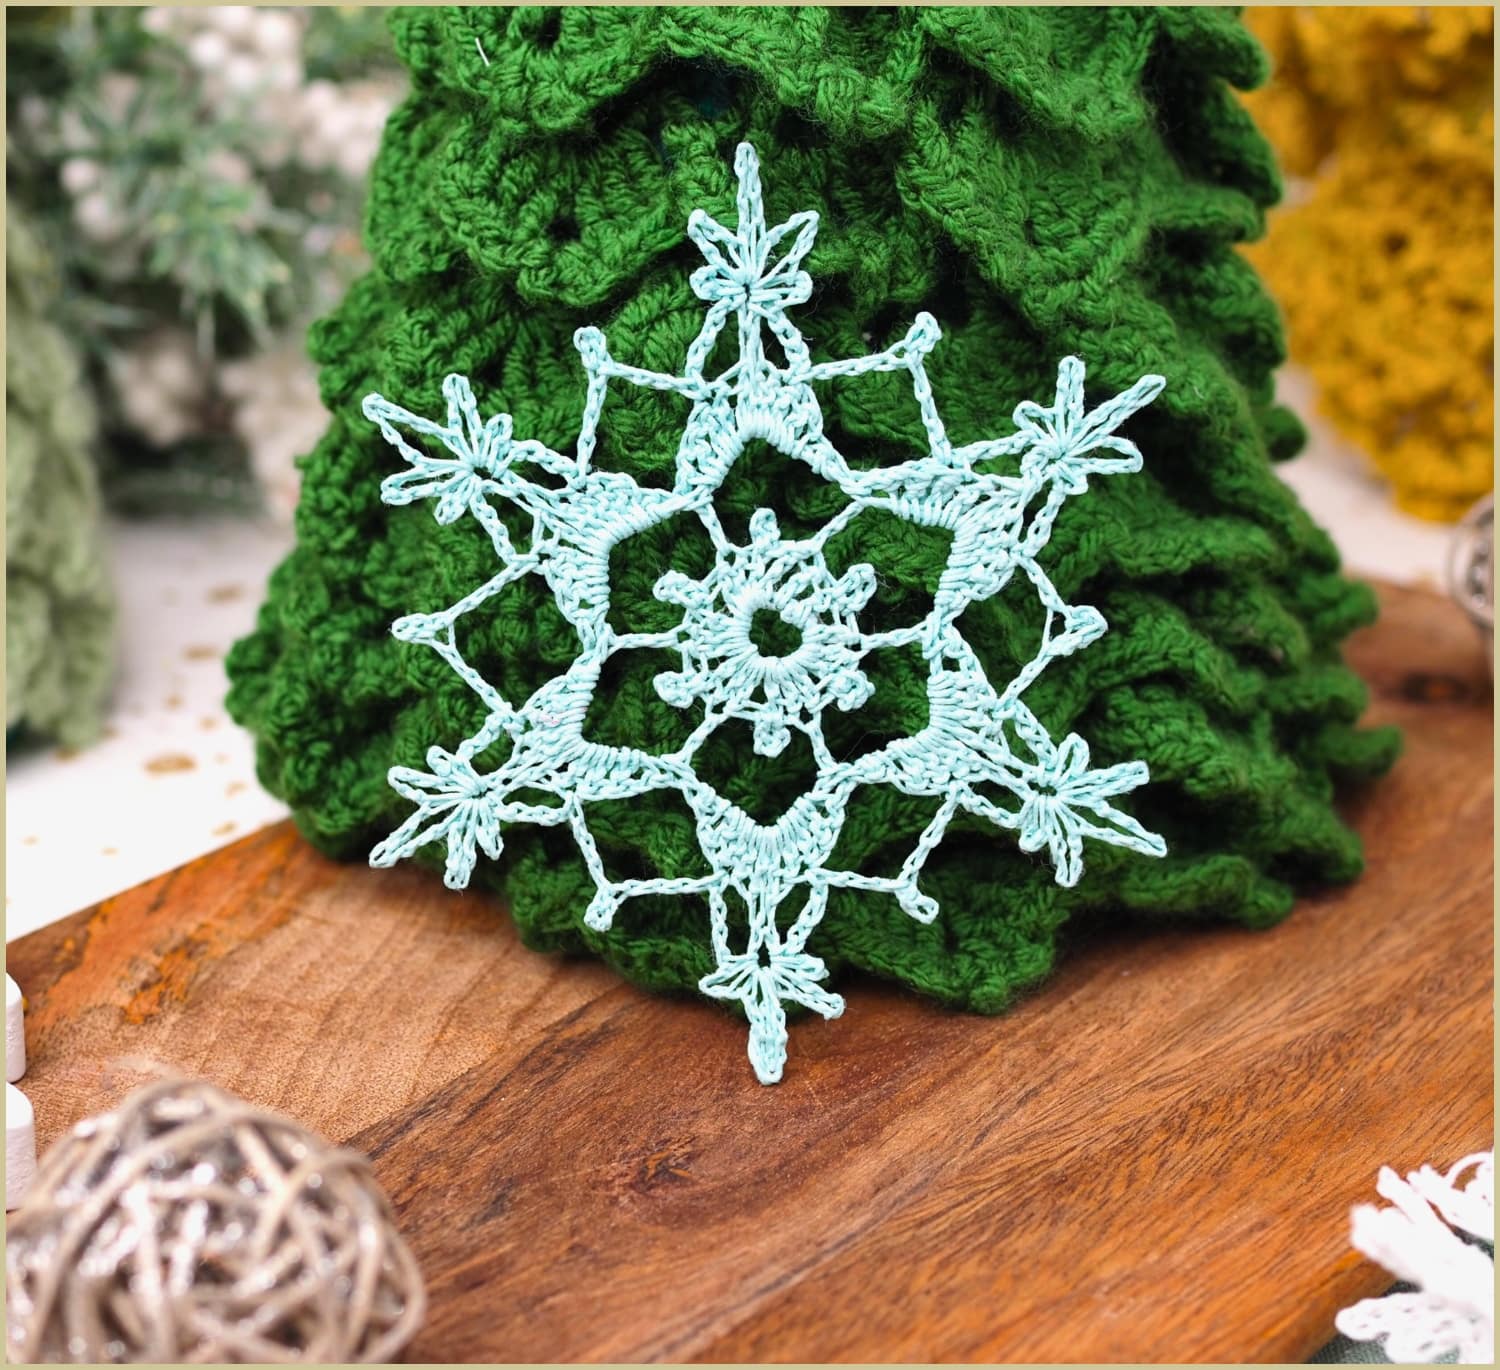
There’s something truly magical about crocheted snowflakes. They capture the delicate beauty of winter, yet unlike the fragile real snow, they last forever. This 3D snowflake pattern takes traditional flat designs to the next level by adding beautiful depth and texture that catches the light perfectly.
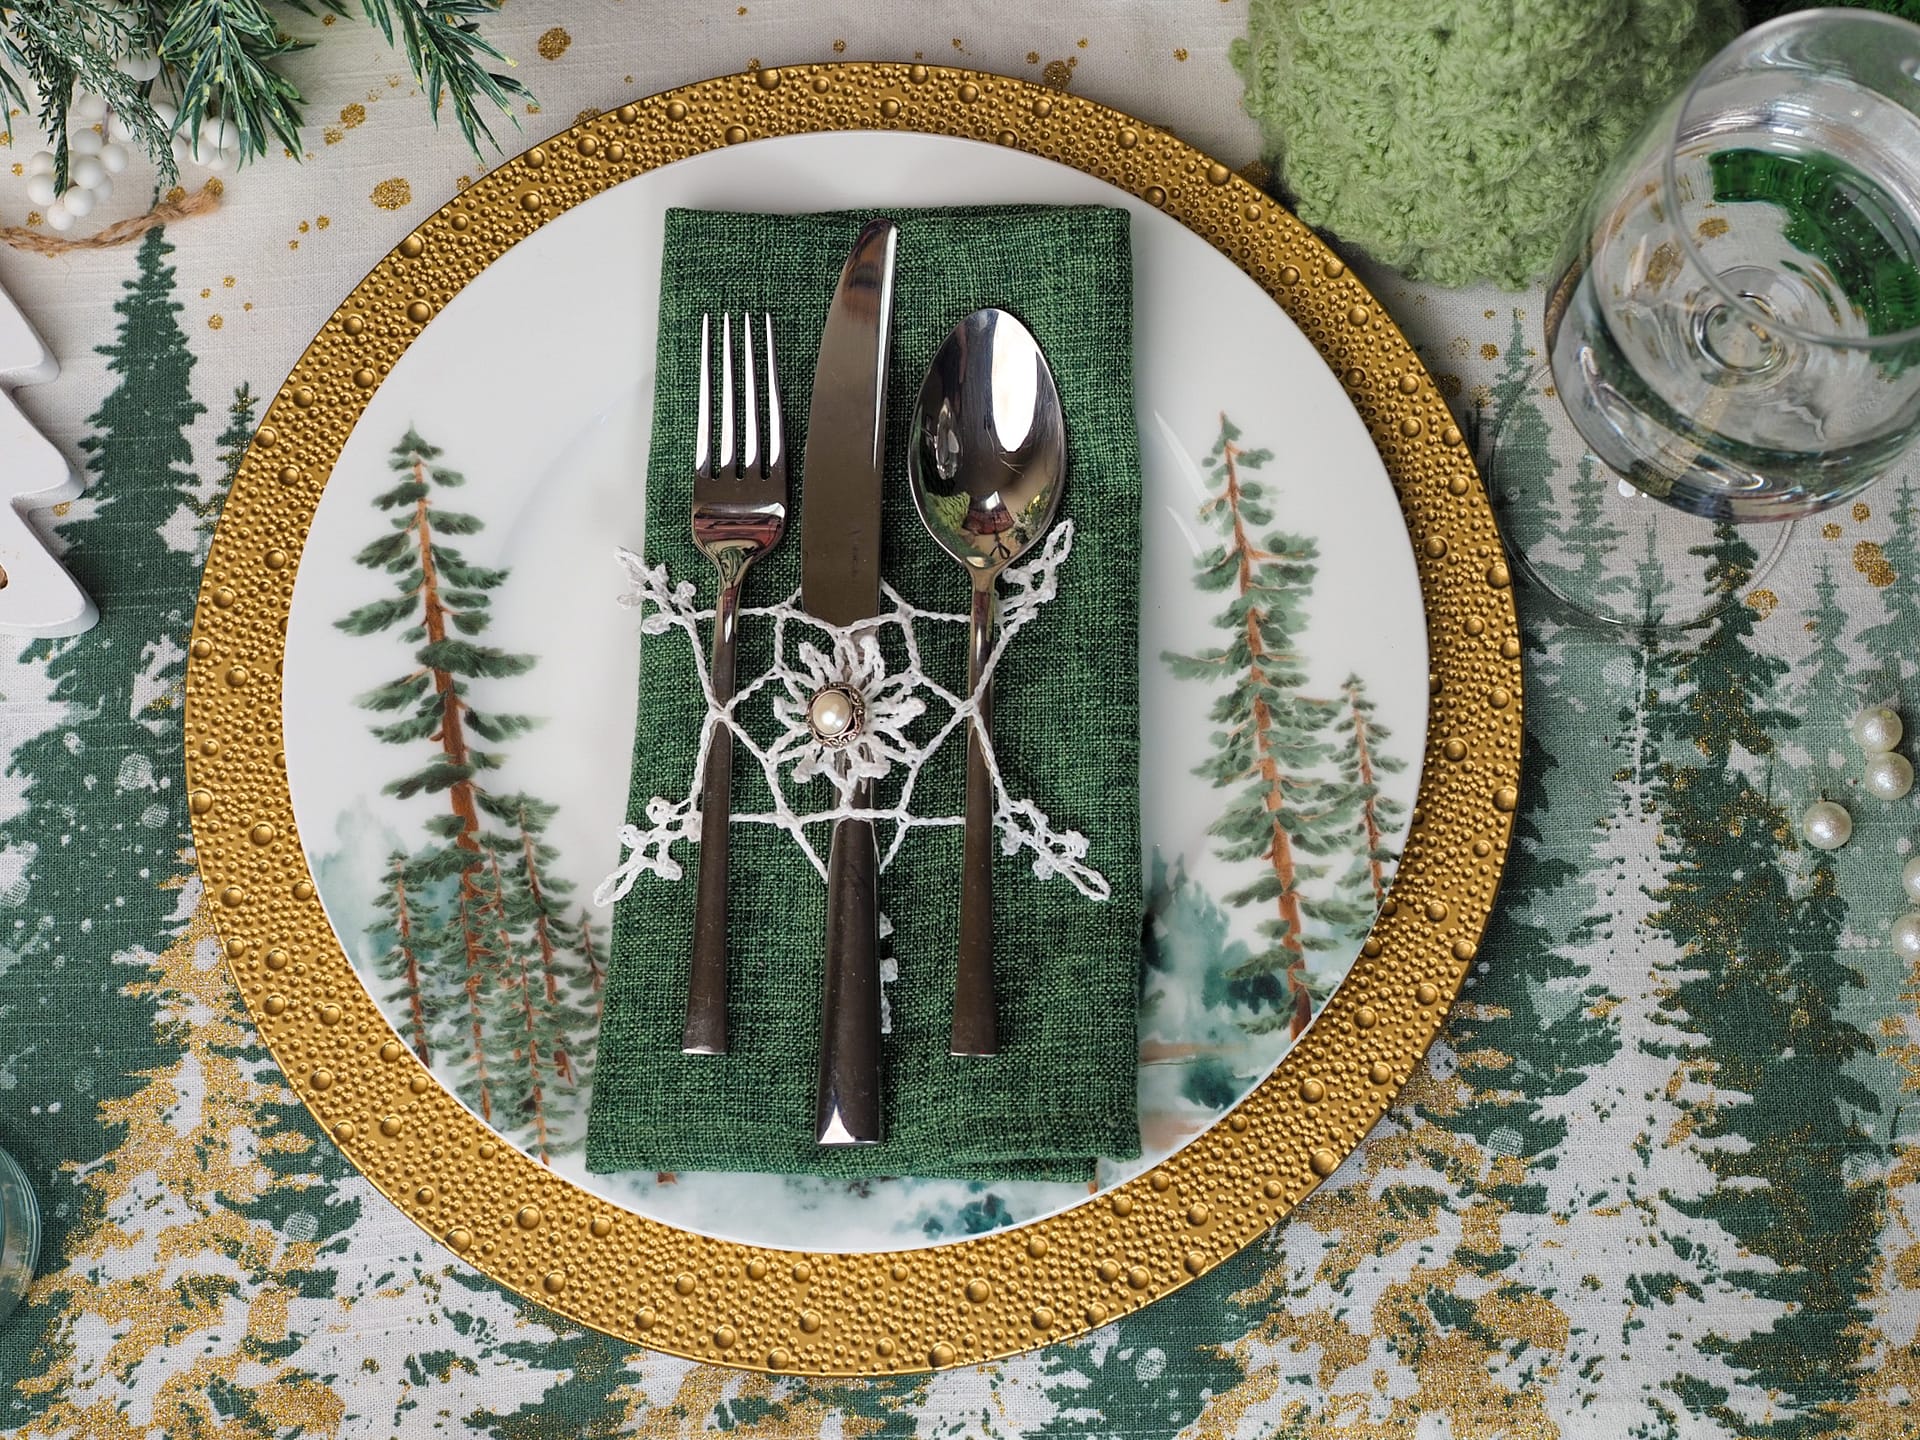
Whether you’re decorating your Christmas tree, creating a winter wonderland garland or making special gifts, these 3D snowflakes work up quickly and use only tiny amounts of yarn. Once you master the basic technique, you can make a whole bunch and mix and match different colors!
Best of all, after Christmas you can separate them and fold them flat so they’re ready for next year.
Here’s a video showing how beautiful they are in real life:
How to Make Your Snowflake Crisp
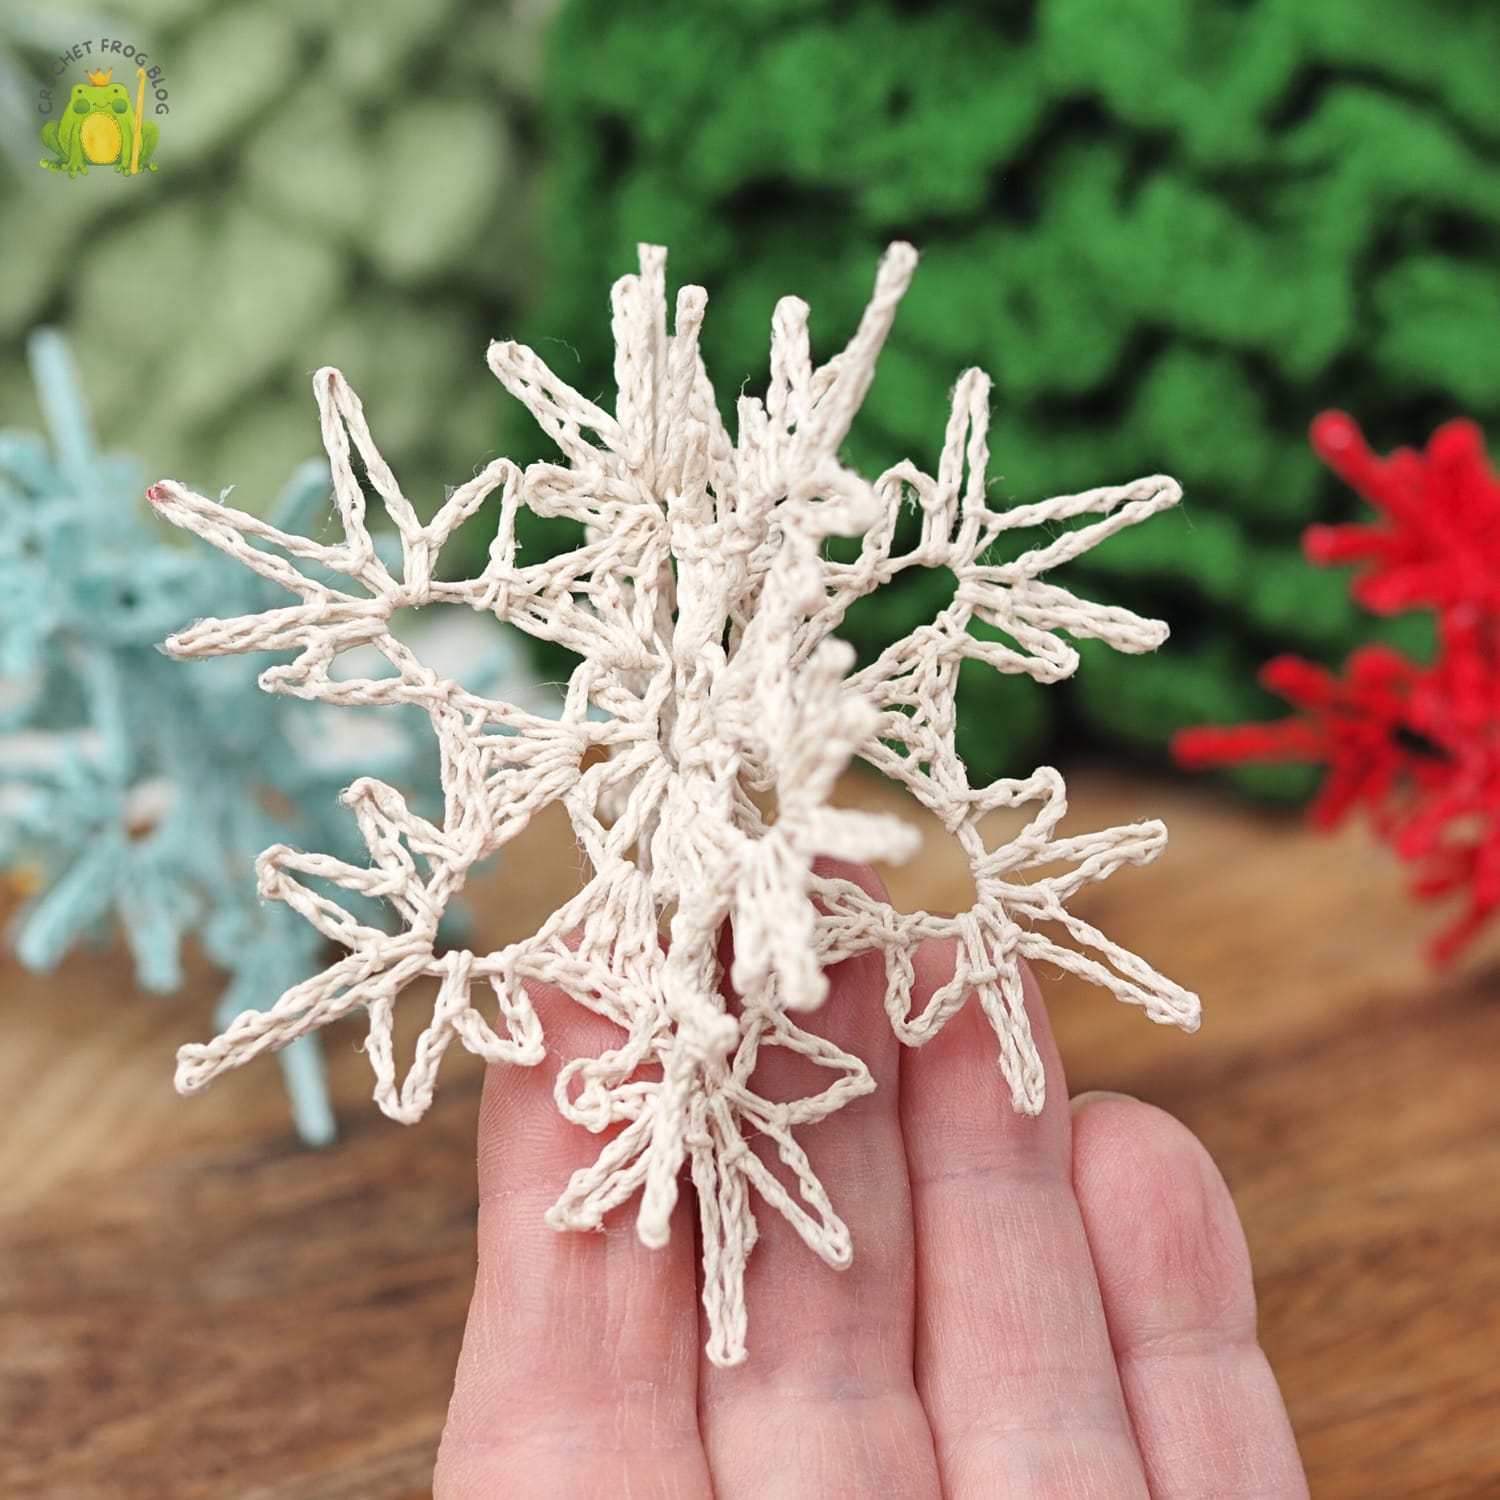
Blocking and stiffening are crucial for turning your thread crochet pieces into crisp, professional-looking ornaments. For thicker yarn, blocking is recommended but not essential; however, stiffening is still needed to make and maintain the 3D shape.
When blocking, try to spread the snowflakes symmetrically and make both pieces as even as possible. For general symmetry, you can use my free printable Snowflake Blocking Template to help get all six points perfectly even. However, the real secret to this specific pattern is the precise pin placement that prepares the two halves to interlock perfectly into a 3D shape. The exclusive photo guide for this ‘3D Pinning’ technique is included in the premium, ad-free PDF pattern.
When stiffening dimensional thread ornaments, aim for a high level of hardness so they hold their shape. Below are some popular stiffening solutions.For thread 3D snowflakes meant to hang on a Christmas tree, I recommend Method 1 – thick Starch or Gelatin, as they remain flexible and look naturally elegant. However, if you plan to lay or stand the snowflakes on a table or they are intended for children to play with, fabric stiffener is best, as it makes the snowflakes almost indestructible. My favourite, the most reliable method is fabric stiffener based on glue (e.g. Aleene’s Fabric Stiffener & Draping Liquid). Sugar water will stiffen the snowflake, but it tends to make the piece bulky and the lace structure less defined.
For worsted-weight yarn, stiffening is a bit tricky. A fabric stiffener by itself can make the yarn look glued and may alter its color. After a few tests, I recommend a strong starch eventually with a tiny amount of stiffener/glue added or others fabric stiffeners not-a glue based.
Blocking Method 1: Starch
- Mix 100 ml water, 2 tbsp potato or corn starch, and 1 tsp sugar.
- Bring to a boil, stirring constantly.
- Let it cool slightly, (but not to long) and then dip the snowflake in.
- Gently rub the starch into the snowflake with your hands, lightly massaging it in.
- Squeeze out the excess starch.
- Remove any remaining starch by tapping the snowflake with a paper towel.
- Print the Snowflake Blocking Template (and any other templates you plan to use).
- Place the printout in a document sleeve to protect it.
- Place a mat or towel under the printout.
- Spread the snowflakes symmetrically on the blocking template and pin it.
Blocking Method 2: Gelatine
- In a small bowl, dilute 2 Tbsp of gelatin in 50 ml of RT water.
- Add 50 ml of boiling water and stir to dissolve.
- Let it cool slightly, then dip the snowflake into the mixture.
- Gently rub the gelatin into the snowflake with your hands.
- Squeeze out the excess.
- Remove any remaining gelatin by tapping the snowflake with a paper towel.
- Print the Snowflake Blocking Template (and any other templates you plan to use).
- Place the printout in a document sleeve to protect it.
- Place a mat or towel under the printout.
- Spread the snowflakes symmetrically on the blocking template and pin it.
Blocking Method 3: Fabric Stiffener
- Put on gloves.
- Pour the fabric stiffener (e.g., Aleene’s Fabric Stiffener & Draping Liquid) into a small container.
- Dip the snowflake into the solution.
- Gently rub the stiffener into the snowflake with your hands.
- Squeeze out the excess stiffener.
- Remove any remaining stiffener by tapping the snowflake with a paper towel. Repeat with a clean paper towel to remove stiffener from both the top and bottom layers of the thread.
- Print the Snowflake Blocking Template (and any other templates you plan to use).
- Place the printout in a document sleeve to protect it.
- Place a mat or towel under the printout.
- Spread the snowflakes symmetrically on the blocking template.
Blocking Method 4: Sugar Water
- Dissolve 1/2 cup sugar in 1/2 cup boiling water.
- Let it cool slightly, then dip the snowflake into the solution.
- Gently rub the sugar water into the snowflake with your hands.
- Squeeze out the excess.
- Remove any remaining sugar water by tapping the snowflake with a paper towel.
- Print theSnowflake Blocking Template (and any other templates you plan to use).
- Place the printout in a document sleeve to protect it.
- Place a mat or towel under the printout.
- Spread the snowflakes symmetrically on the blocking template.
Creating the 3D Effect
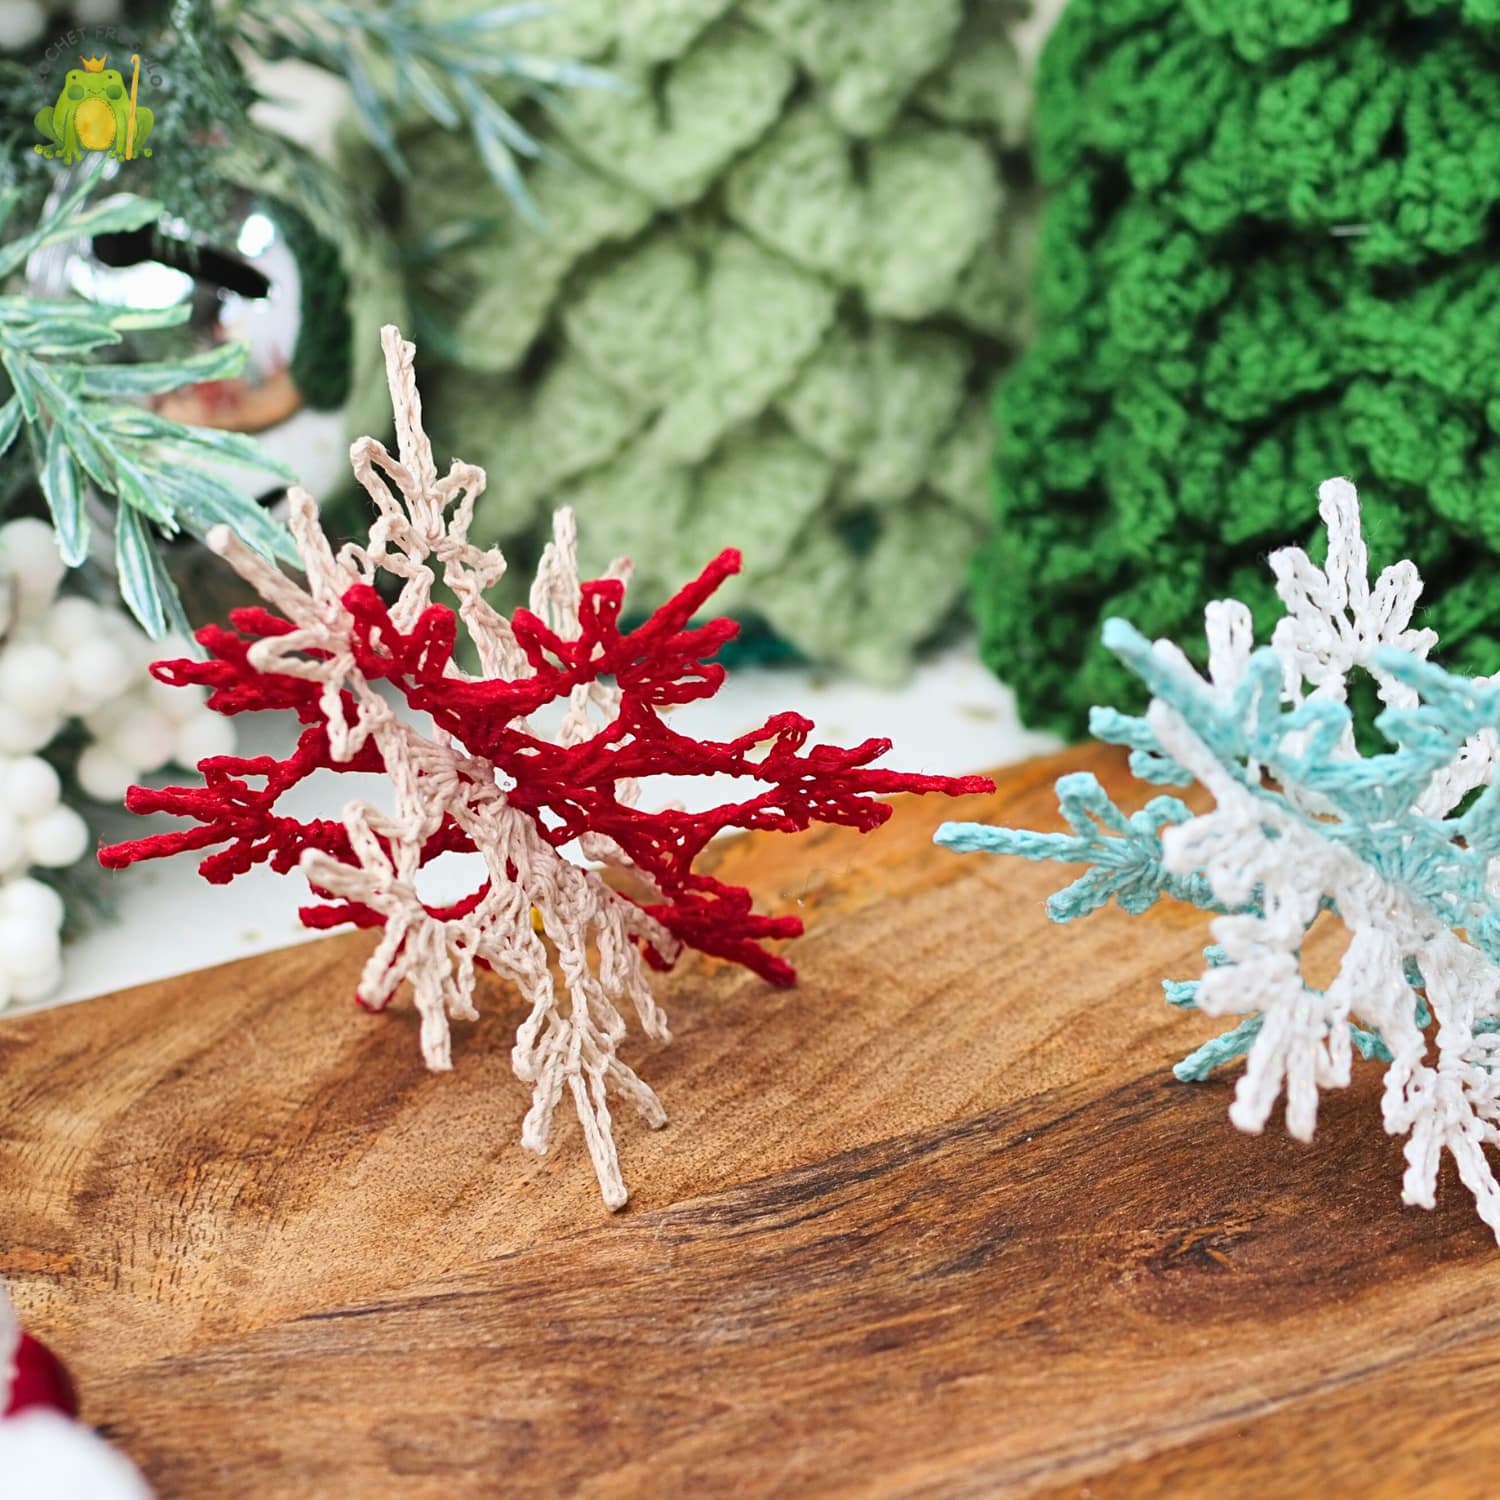
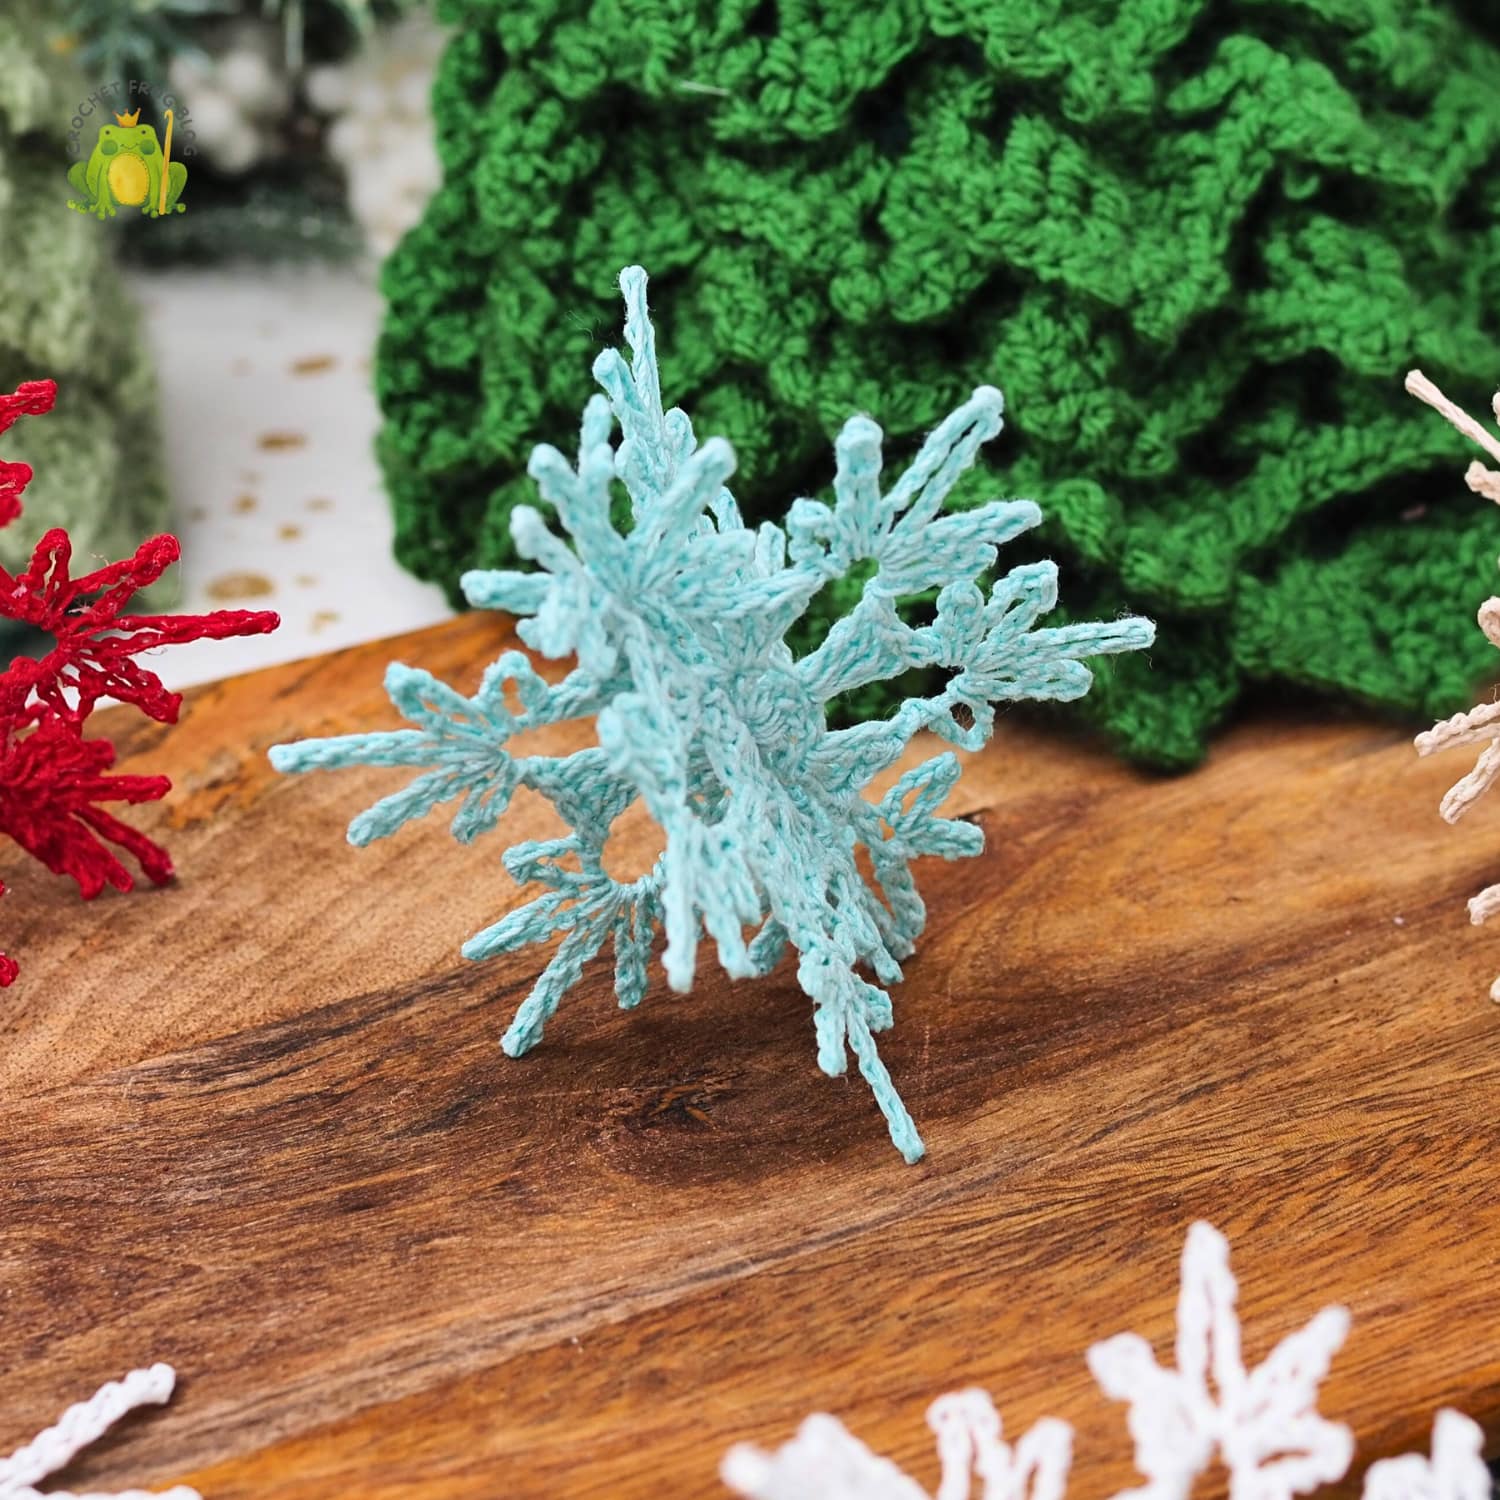
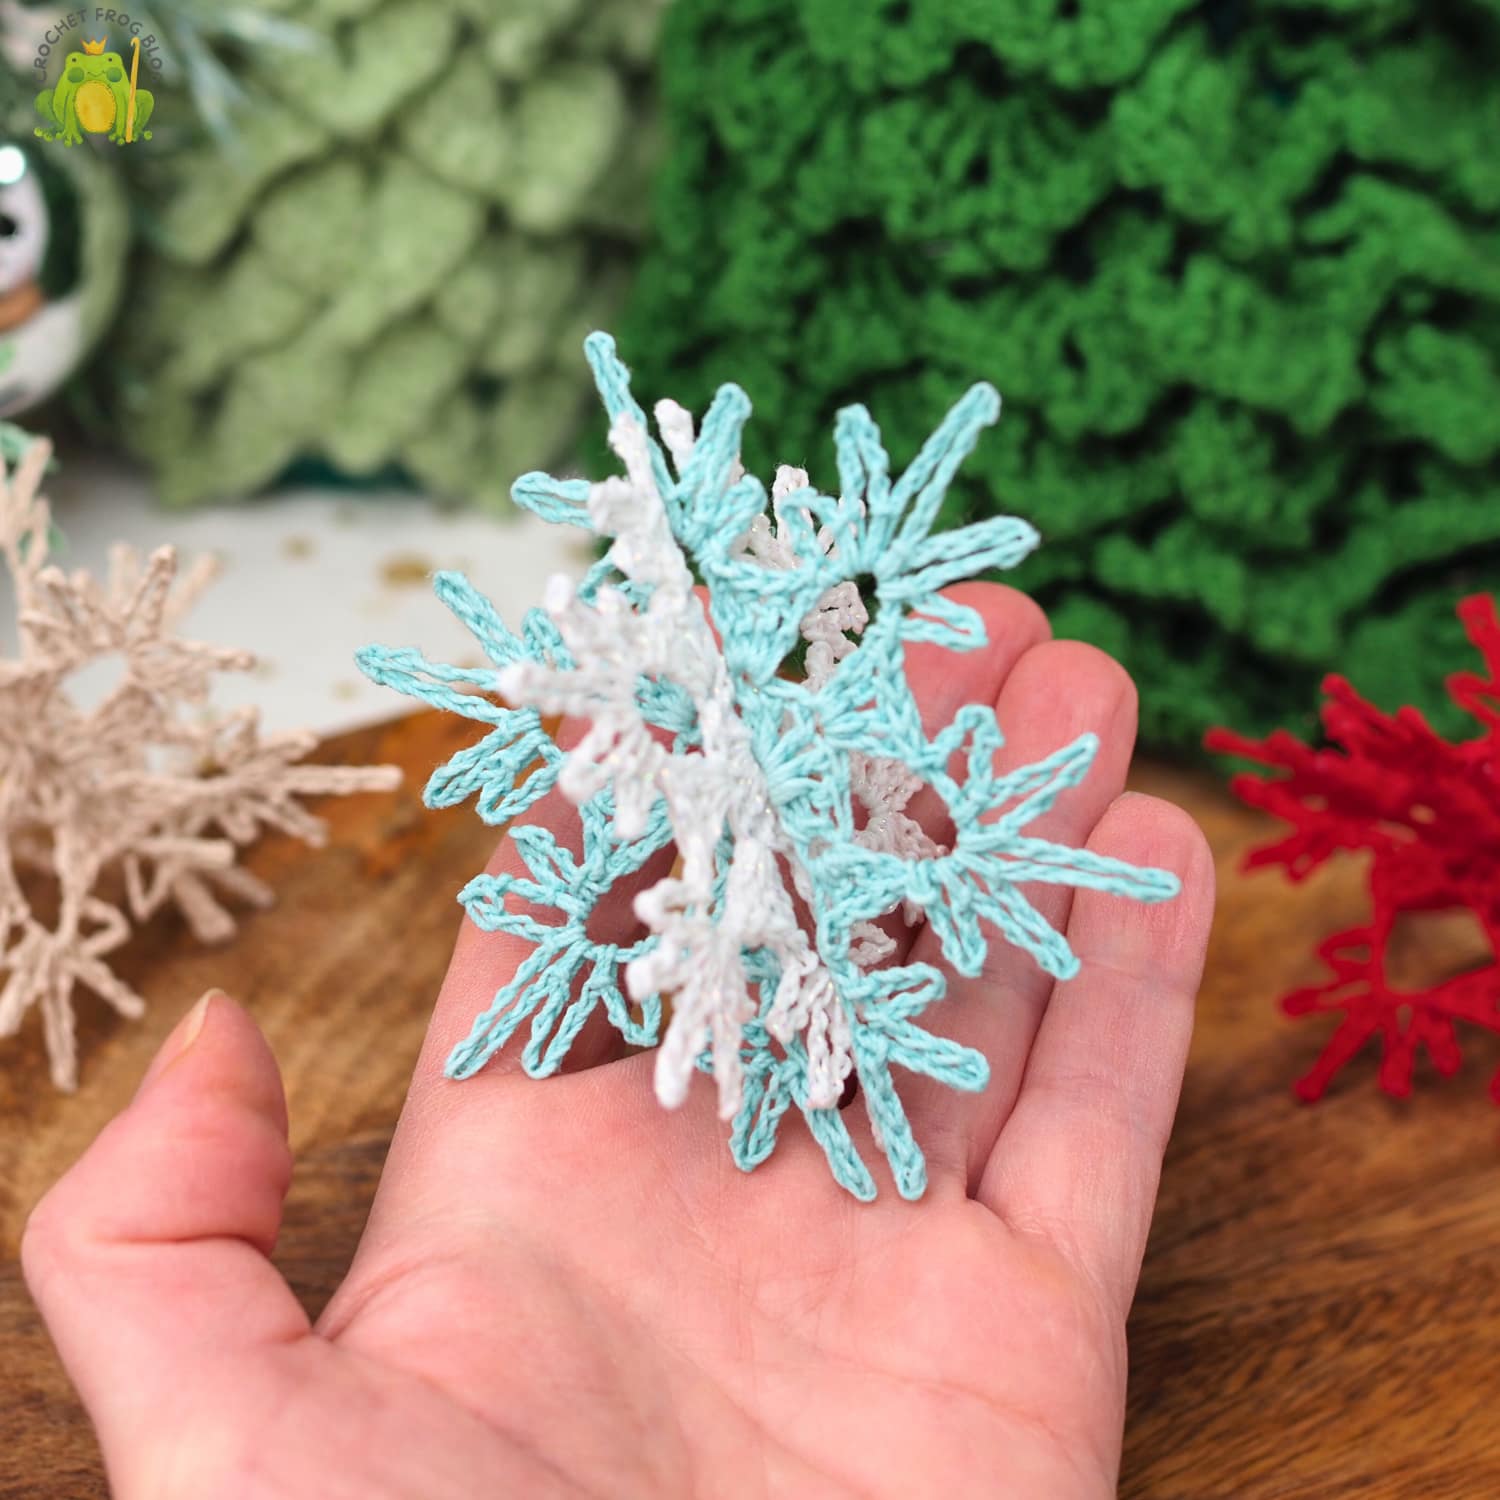
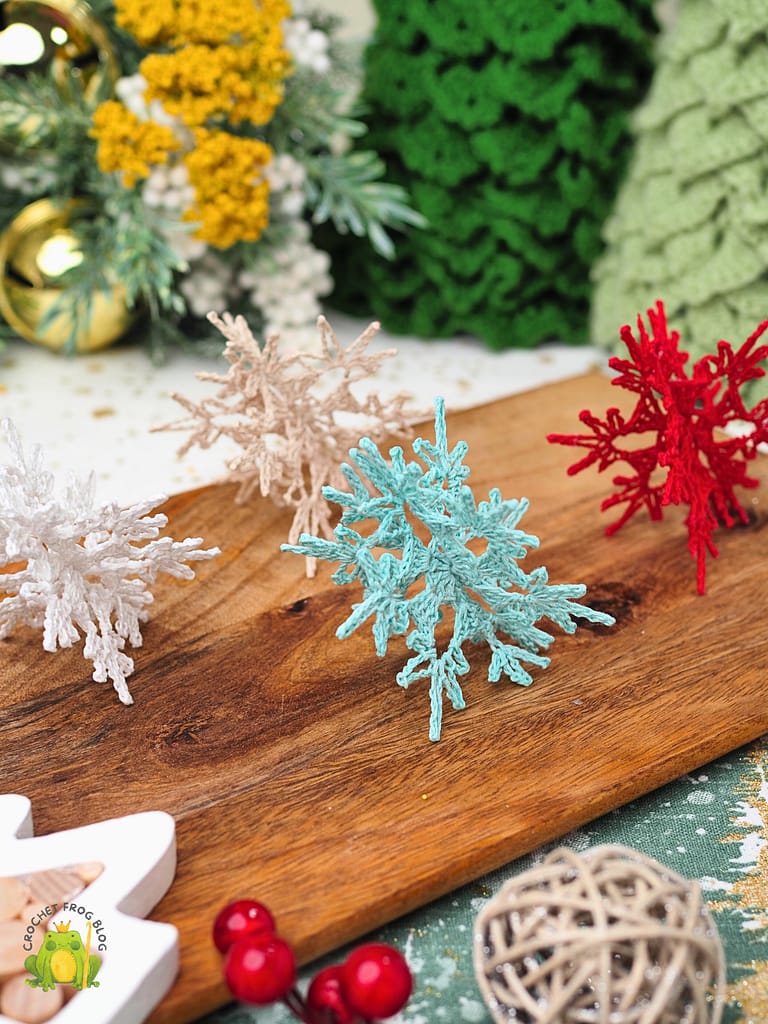
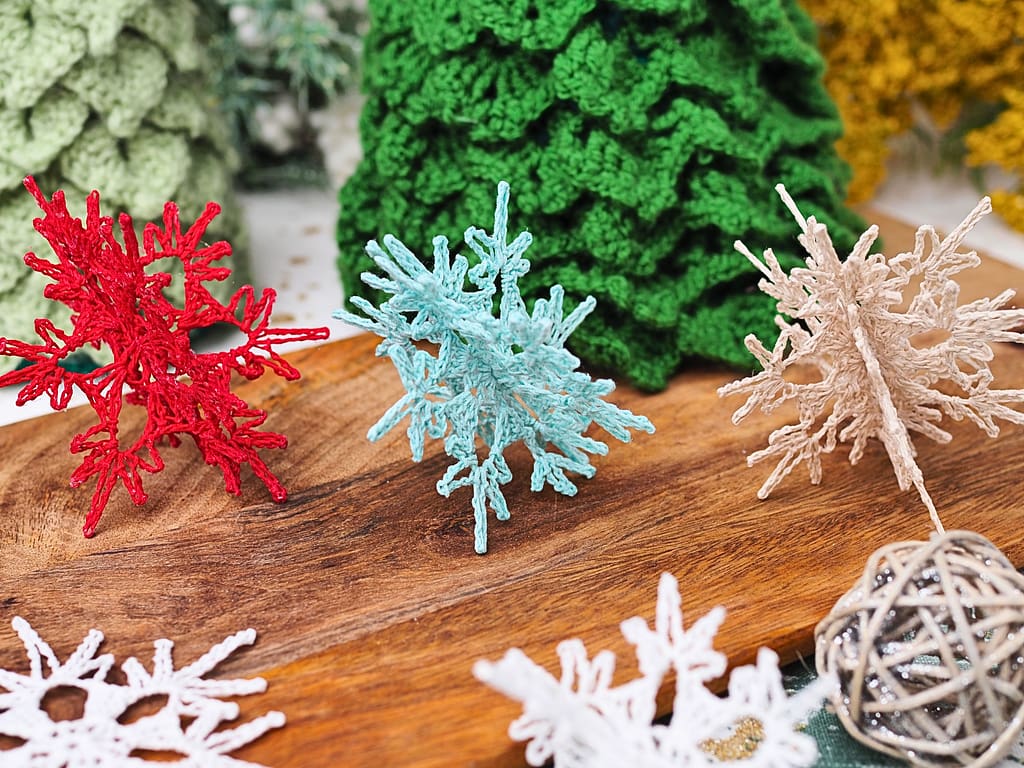
After blocking, remove the pins carefully (some may be stuck to the yarn). The 3D effect is achieved by crossing the two snowflakes at a 90° angle and inserting their open parts into each other.
You can mix and match snowflake colors. You can also easily create a 3D snowflake by joining two, three or more flat snowflakes together.
Tips for Success
Tension Tips:
- Consistent tension creates symmetrical snowflakes
- Block firmly for best 3D effect.
Design Variations:
- Sparkly Version: Use metallic thread or add clear seed beads to points
- Colorful Option: Make in pastels for spring or bright colors for kids’ rooms
- Size Variations: Use fingering weight yarn for medium snowflakes, worsted for large
Common Mistakes to Avoid:
- Don’t skip blocking – it’s essential for the 3D effect
- Carefully choose the stiffening method to combine necessary stiffness with a desier look
- Use a blocking template to spread a snowflake evenly
- Don’t forget to pin the ‘open side’ of the snowflake close side-by-side
- Count stitches carefully to maintain 6-point symmetry

Display Ideas
Christmas Tree Ornaments:
- Add a metallic thread loop for hanging
- Cluster 3 different sizes together
- Spray with glitter spray for extra sparkle
- Attached beads to the snowflake tips
Window Decorations:
- String vertically at different heights
- Create curtain effect with multiple strands
- Add LED fairy lights behind for glow
Gift Toppers:
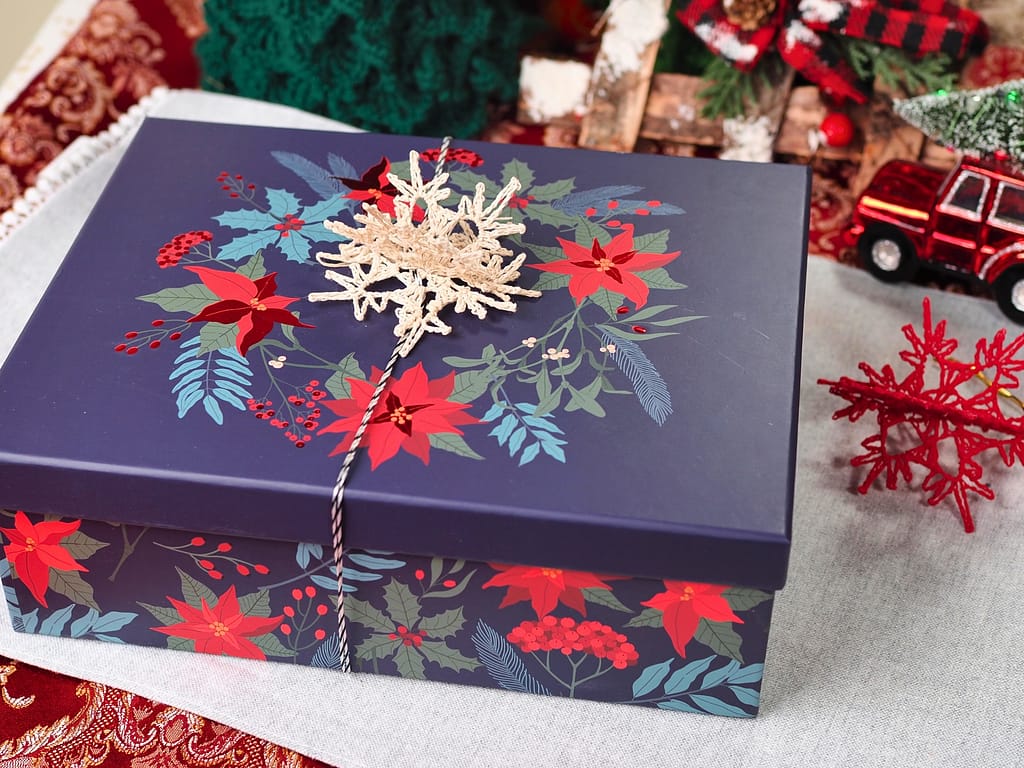
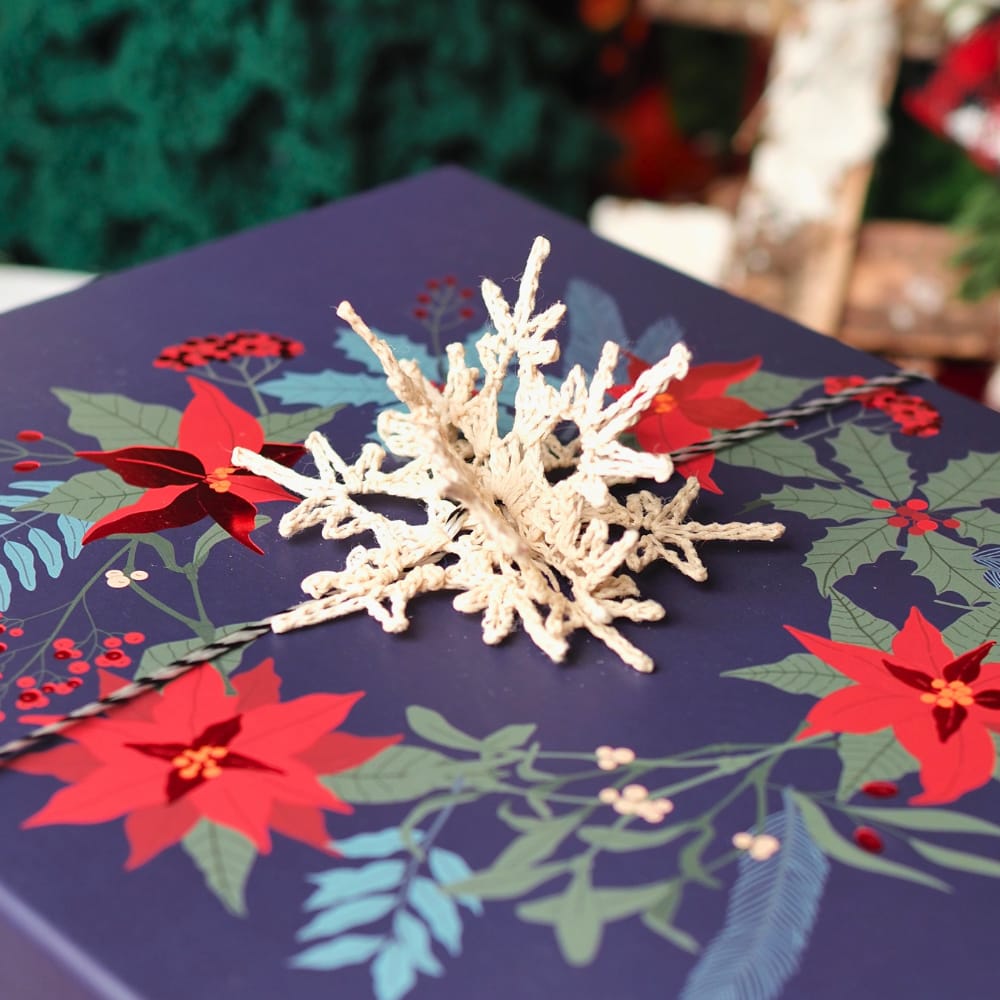
- Attach to wrapped presents
- Use as gift card holders (pocket in center)
- Create matching gift tag
Garland:
- Connect 10-12 snowflakes with invisible thread
- Alternate with pompoms or bells
- Drape on mantel or stairway
Yarn Recommendations
Best Threads for Crisp Snowflakes:
- Aunt Lydia’s Classic Crochet Thread Size 10 – Excellent stiffness
- DMC Cebelia Crochet Cotton – Beautiful sheen
- Lizbeth Size 10 Thread – Wide color range
For Larger, Softer Snowflakes:
- Red Heart Unforgettable – Creates gradient effect
- Caron Simply Soft – Budget-friendly option
- Berroco Comfort DK – Washable for kids’ rooms
Get the Premium, Ad-Free PDF Pattern
Love this pattern? The best way to support the Crochet Frog blog is to purchase the premium, ad-free PDF version! It’s a beautifuly formated, printer-friendly file that includes exclusive content not available on the blog.
The Secret 3D Pinning Guide! Shows you the exact pin placement to guarantee a perfect 3D fit.
A full step-by-step photo tutorial showing you exactly how to construct the snowflake.
BONUS pattern Worsted Weight Pattern
Printer-Friendly & Ad-Free
Click buy now to Get the Premium Ad-Free PDF on Ravelry
Add Magic 3D Snowflake to your Ravelry favorites
Pattern Details
Skill Level: Advanced Beginner
Finished Size: Approximately 3 3/4 inches (9.5 cm) across
Time to Complete: 30-45 minutes per snowflake
Materials Needed
Yarn:
- Option 1: Thread pattern- size 10 crochet thread or Fingering (size 1) yarn
- Option 2: DK/Light worsted weight yarn for larger snowflakes
Tools:
- For thread: Steel crochet hook size 7 (1.65 mm) or 8 (1.50 mm)
- For yarn: Crochet hook size according to yarn requirements
- Scissors
- Tapestry needle
- Starch or fabric stiffener (optional but recommended)
- Blocking pins and mat (optional but recommended)
Abbreviations Used
- ch = chain
- sl st = slip stitch
- sc = single crochet
- dc = double crochet
- tr = treble crochet
- sp = space
- rep = repeat
- * = repeat instructions between asterisks
Pattern notes:
Gauge isn’t important, but it’s important to keep your tension consistent for symmetry.
Ch 3 at the beginning of the round counts as the first dc.
You will be making two identical flakes. The 3D effect comes from crossing them in the center at a 90° angle.
The pattern below is written for thread or fingering-weight yarn. Bonus pattern Instructions: Even Bigger The Magic 3D Snowflake – for Worsted Weight Yarn are included in printable pdf.
Blocking and stiffening are crucial for shaping the snowflake and maintaining its dimensions. The stiffening should be firm to help the snowflake hold its shape. For more information about pinning and stiffening, you can read my finishing tips beneath the pattern.
Pattern Instructions
Using instructions below, make two identical snowflakes.
FOUNDATION RING
Make a slip knot, leaving at least 3” (10 cm) of a loose end. Ch 6.
If you ‘re a beginner and working with a thread yarn, instead of making ch6, make ch3, grab the loose end of the yarn (beneath the sl st), yo and pull through the ch3 leaving a small loop. It will create an working circle and help you with holding stitches in the round 1. Ch3.
ROUND 1:
1dc in 3-rd ch from the hook, ch1.
With your free hand, pinch together the slip knot and the 1-st dc to create a loop. *(dc2 in the ‘working circle’, ch1) – repeat from * 4 times, squeezing the dc together after making each dc.
1 dc in the circle, 1 dc into the last ch of a foundation ring. [12 dc, 5 chs]
ROUND 2:
Ch3, rotate the work, 3dc in between 1st and 2nd dc of previous round, ch4, *(4dc in between the next 2dc from the 1st round, ch4) – repeat from * 4 times, 3dc in between the last 2dc from the 1st round, dc the top of the last dc of the previous round. [6 times: 4dc, 5 times:ch4-spaces]
ROUND 3:
Ch6, sl st 5 times back to 1-st ch of ch6, rotate your work, ch7, sl st to 1-st st of ch6, ch 5 – sl st to 1-st st of ch6.
*(Sl st 5 times through 4dc and into the next ch-4 space. In the ch-4 space: picots: ch5, sl st, ch7, sl st, ch9, sl st, ch7, sl st, ch5, sl st) – repeat from * 5 times
Sl st 3 times through the 3dc from previous round, st st into the last of ch3 from the beginning of round 2. Rotate. Ch6, sl st 5 times back to 1-st ch of ch6. CH7, sl st to 1-st st of ch6, ch 5 – sl st to 1-st st of ch6. Sl st into the top of the last dc of the previous round.
Fasten off. Pull out the loose end from the foundation ring. Weave in.
Free pattern for personal use. You may sell finished snowflakes in small batches—please credit “Crochet Frog blog” as the designer and link back when possible. Don’t republish the pattern itself.
Related Patterns You’ll Love
- 15-Minute Snowflake Free Crochet Pattern will match the vibe and similar look of 3D Mix and Match Snowflake
- Try Frizzy Daisy Snowflake if you want a classic, old fashion look
Frequently Asked Questions
Q: Can beginners make this pattern?
A: Yes, with patience! Master basic stitches first, then take it slow.
Q: How long will stiffened snowflakes last?
A: Properly blocked snowflakes can last years if unfolded and stored carefully flat in tissue paper.
Q: Can I sell snowflakes made from this pattern?
A: Yes! Please credit Crochet Frog Blog for the pattern design.
Q: What if I don’t have blocking mats?
A: Use cardboard covered with plastic wrap, a cork board, blanket or a folded towel.
Q: Is there a video tutorial for the Magic 3D Snowflake?
A: Not at this time, but a video is planned for the future! Sign up for my newsletter to be the first to know when it’s released.
Share Your Creations!
I’d love to see your 3D snowflakes! Share your photos:
- Instagram: Tag @crochetfrog #CrochetFrog3DSnowflake
- Ravelry: Add as a realized project
- Facebook: Post in a comment to Crochet Frog page
Conclusion
This 3D snowflake pattern might seem complex at first glance, but once you complete your first one, you’ll be hooked! The dimensional effect is so impressive that everyone will think you’re a crochet expert. Make a whole flurry of snowflakes in different sizes and colors to create your own winter wonderland.
Happy crocheting, and don’t forget to share your beautiful creations with crochet community!
With warm winter wishes,
The Crochet Frog blog

Looks gorgeous—thank you! I’ve already made some of your snowflakes, and I’ll definitely give that a go. 😊
Thank you!