
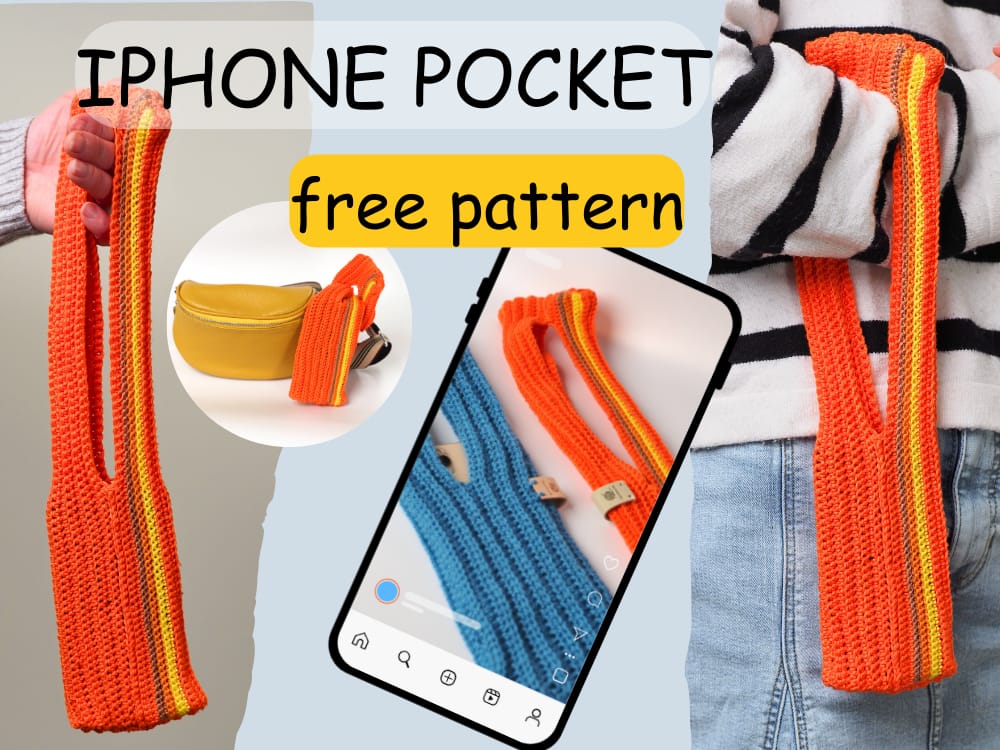
Tired of juggling your phone, keys, and cards? Discover the ultimate hands-free crochet accessory!

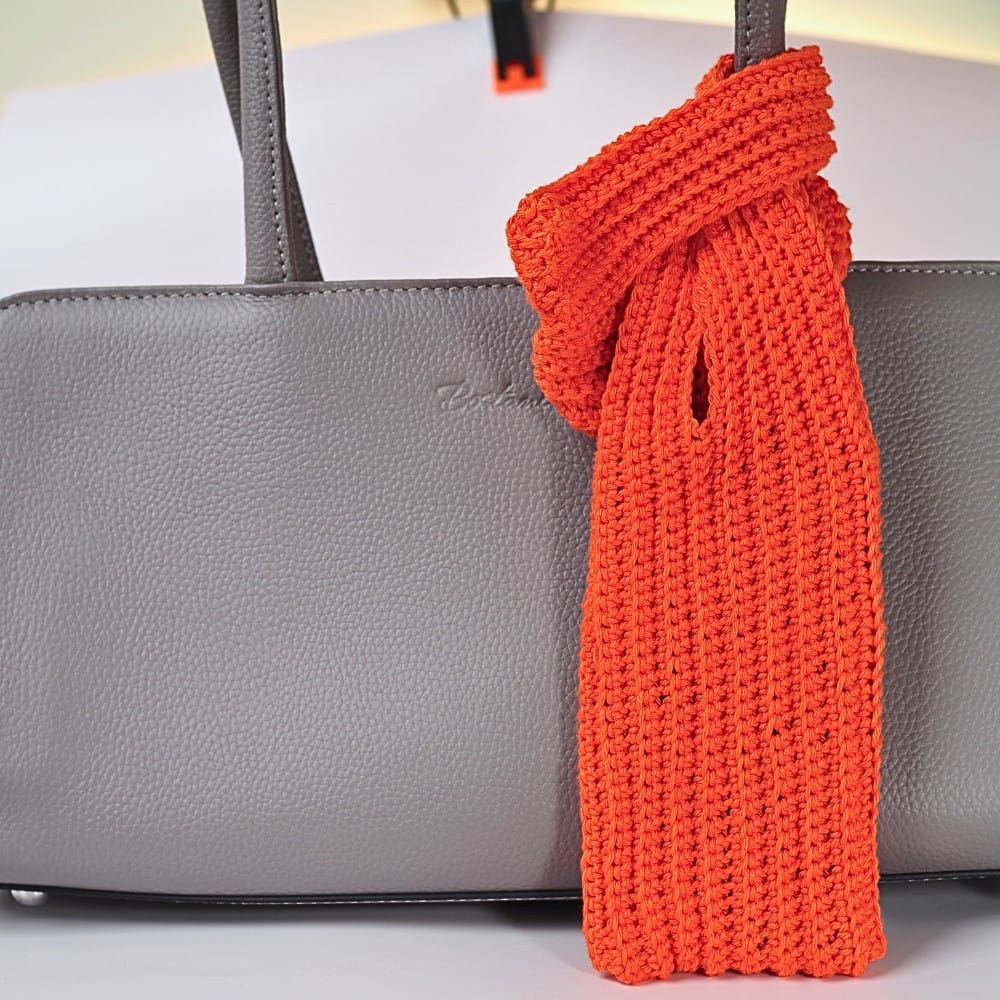
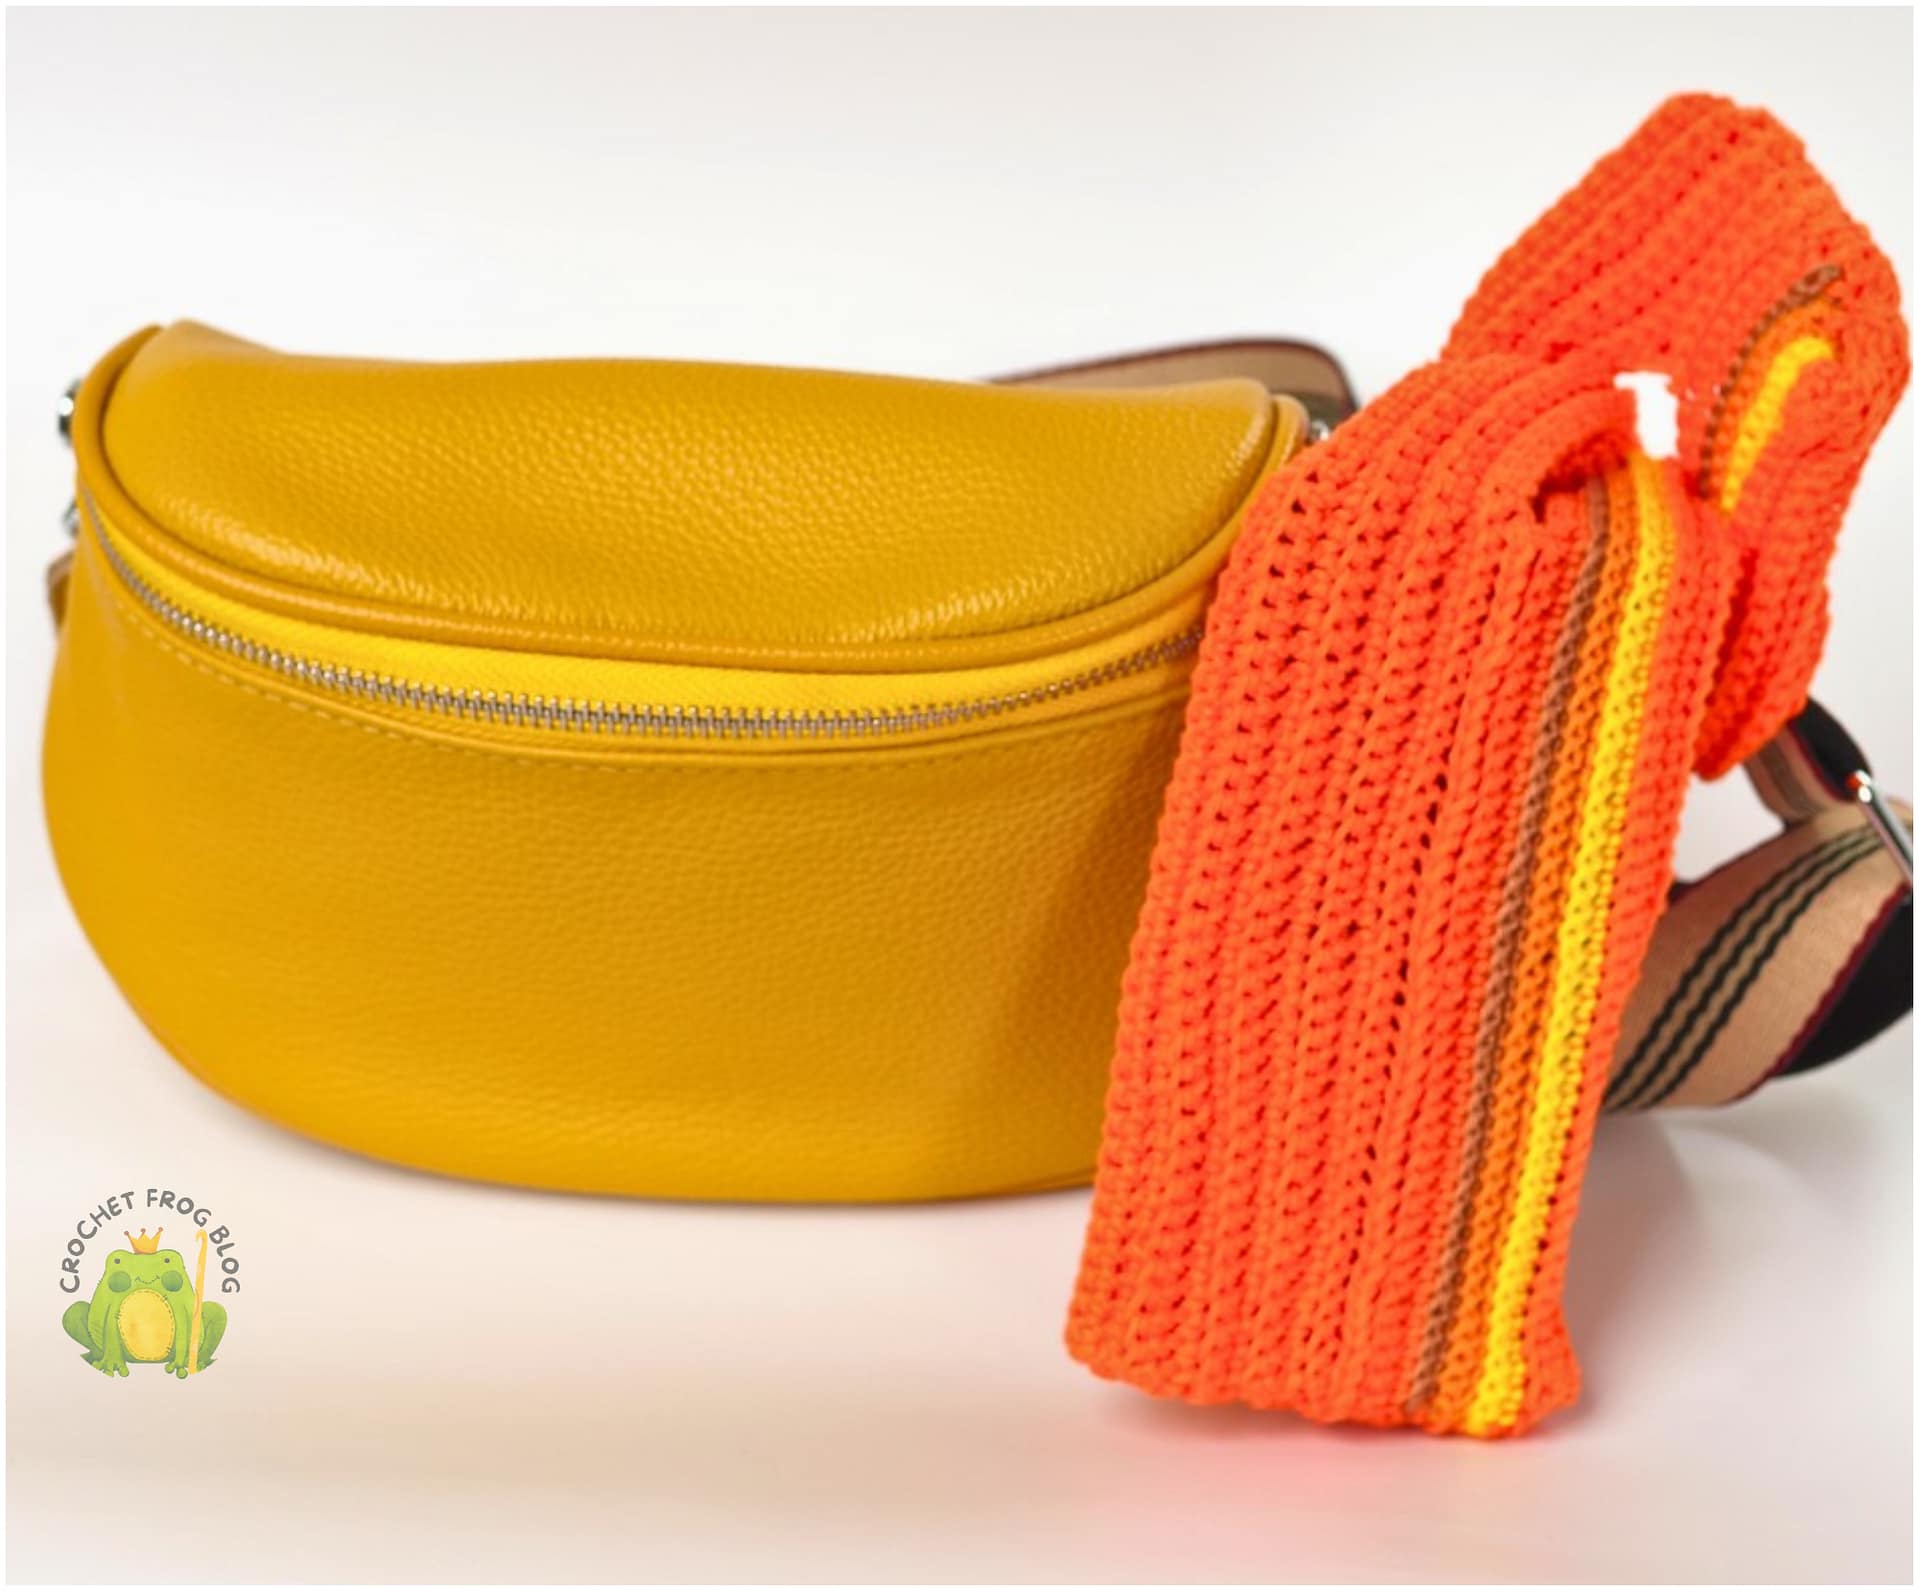
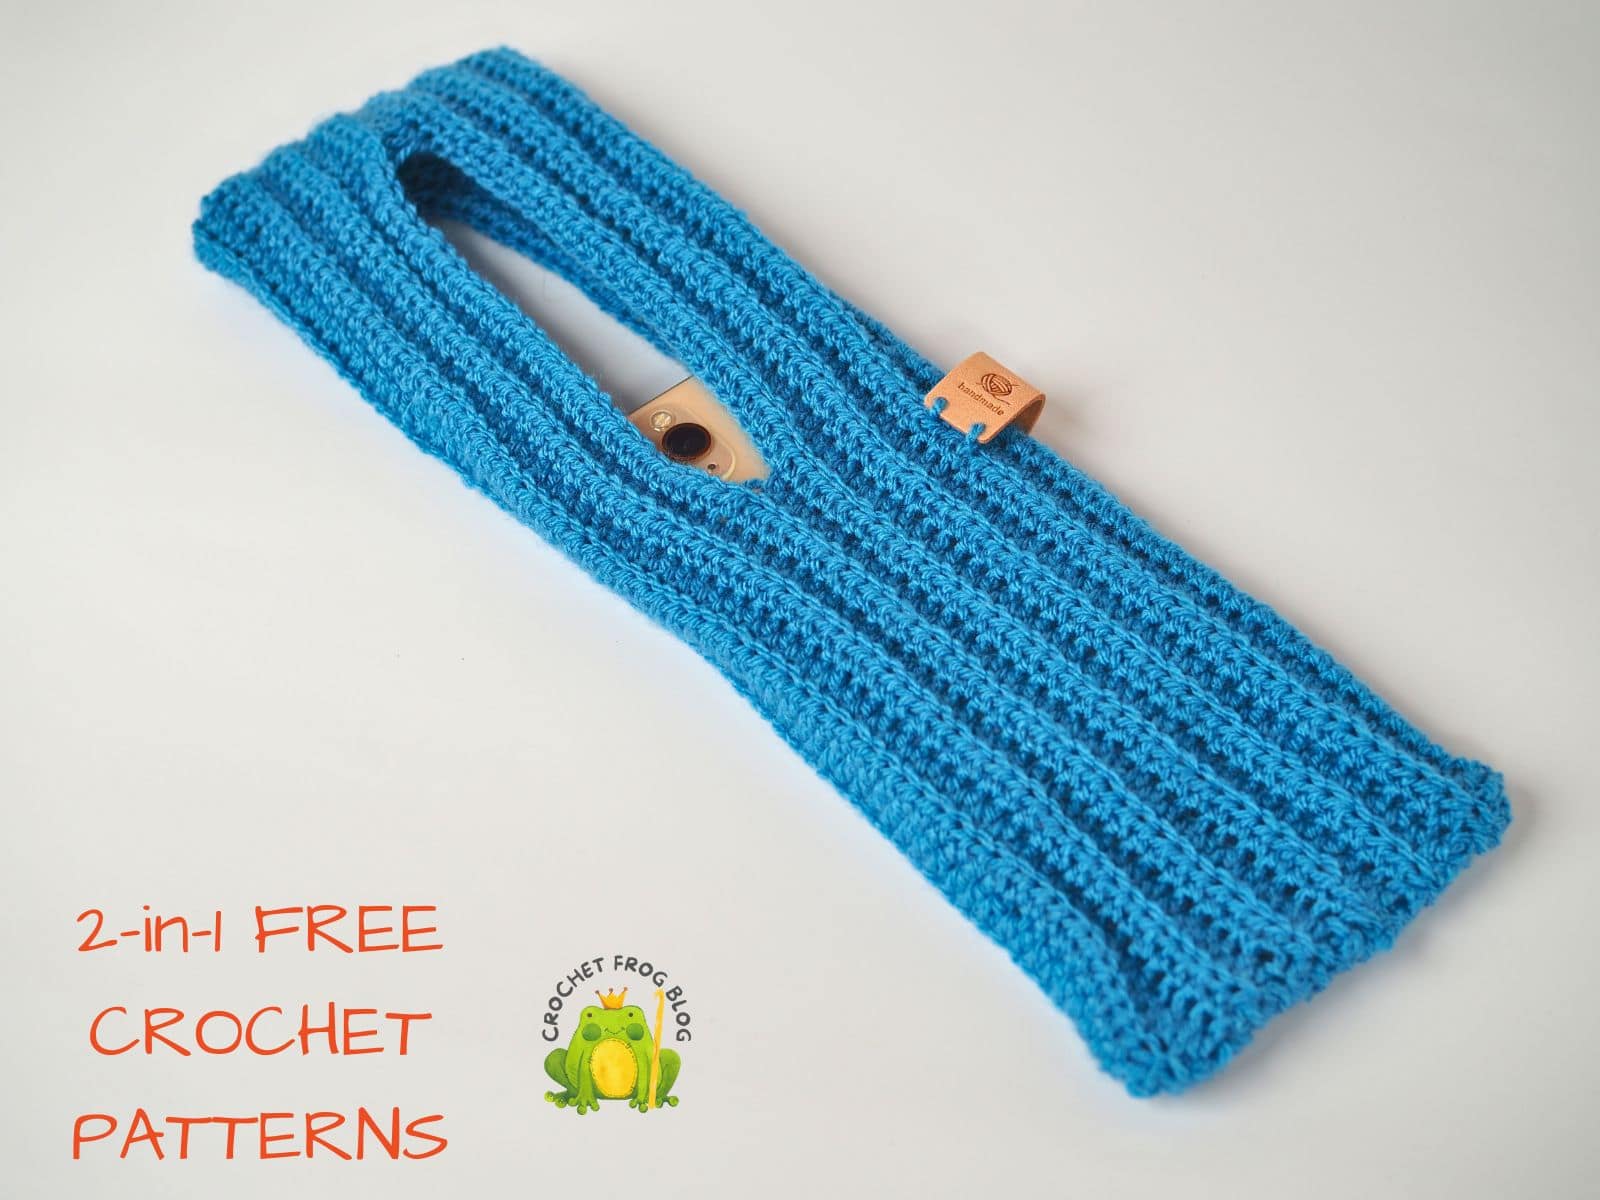
This free crochet phone pocket case holder pattern is directly inspired by Apple’s sleek iPhone Pocket – a beautiful, wearable sleeve to carry your smartphone. It fits most modern phones, including iPhone 16, Samsung Galaxy, and Google Pixel (ideal for 6.1–6.9″ screens). Using back loop single crochet (BLSC), it creates a trendy ribbed texture that’s stretchy, durable, and stylish. Wear it as a crossbody phone pouch, belt-loop holder, or lanyard pocket – perfect for runners, hikers, commuters, and busy parents!
This pattern is solid and strechy, due to the silky yarn. However, if you’re woking with a worsted weight yarn, I recommend that you make wider Simple Cozy for Your Mobile Free Pattern:
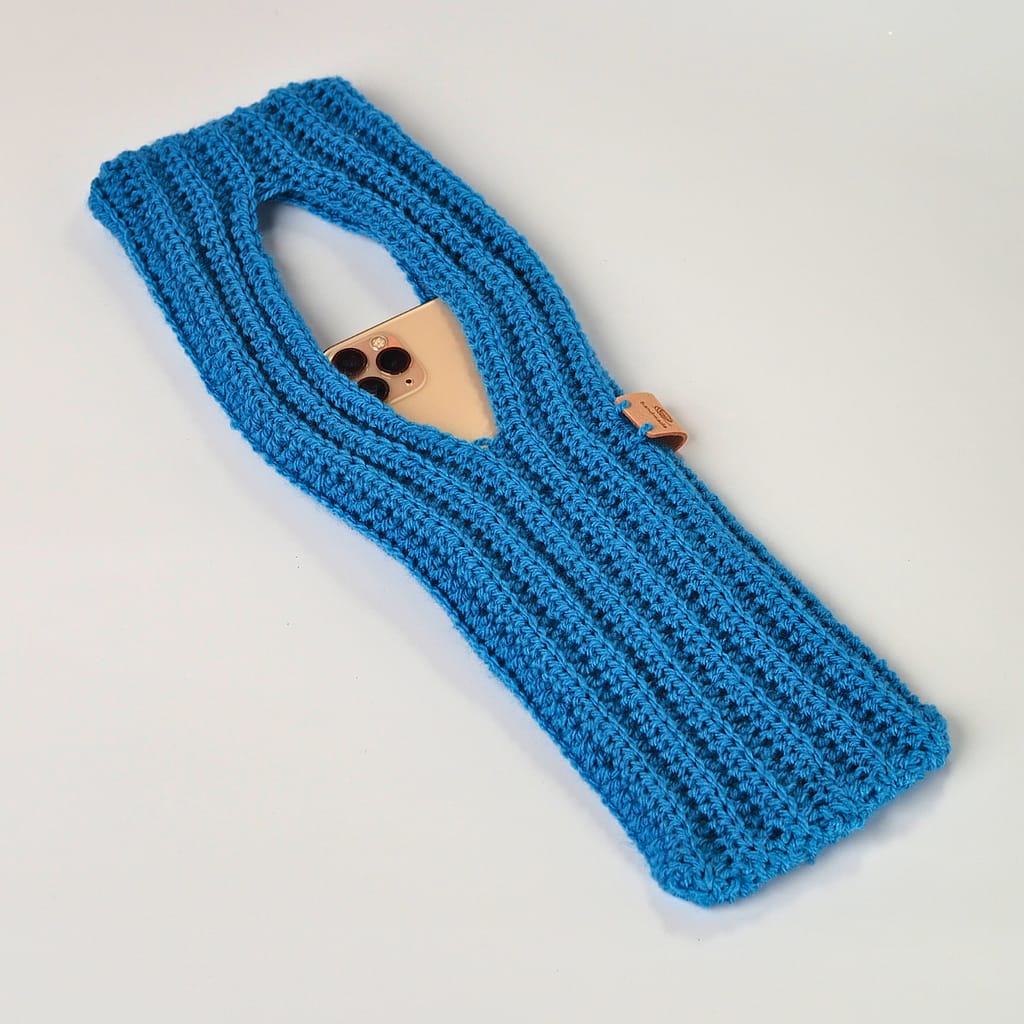
If you’re a beginner, or you’re working with a worsted weight yarn, try the Simple Cozy for Your Mobile Free Pattern.
Pattern Details & What You’ll Need
This project is perfect for an advanced beginner ready to master the BLSC stitch, or for experienced crocheters looking for a satisfying, quick win.
What is the BLSC stitch? The key here is the Back Loop Single Crochet (BLSC). By working only into the back loop of the stitch, you create a wonderfully defined, stretchy ribbing that mimics knitwear—ideal for ensuring your phone doesn’t slip out!
Materials List:
- Yarn: Fingering (1) yarn, I used Alize Diva Silk Effect.
- Hook: Recommended size for your yarn (I used 2.5 mm).
- Tapestry needle, scissors, stitch markers.
Special stitches:
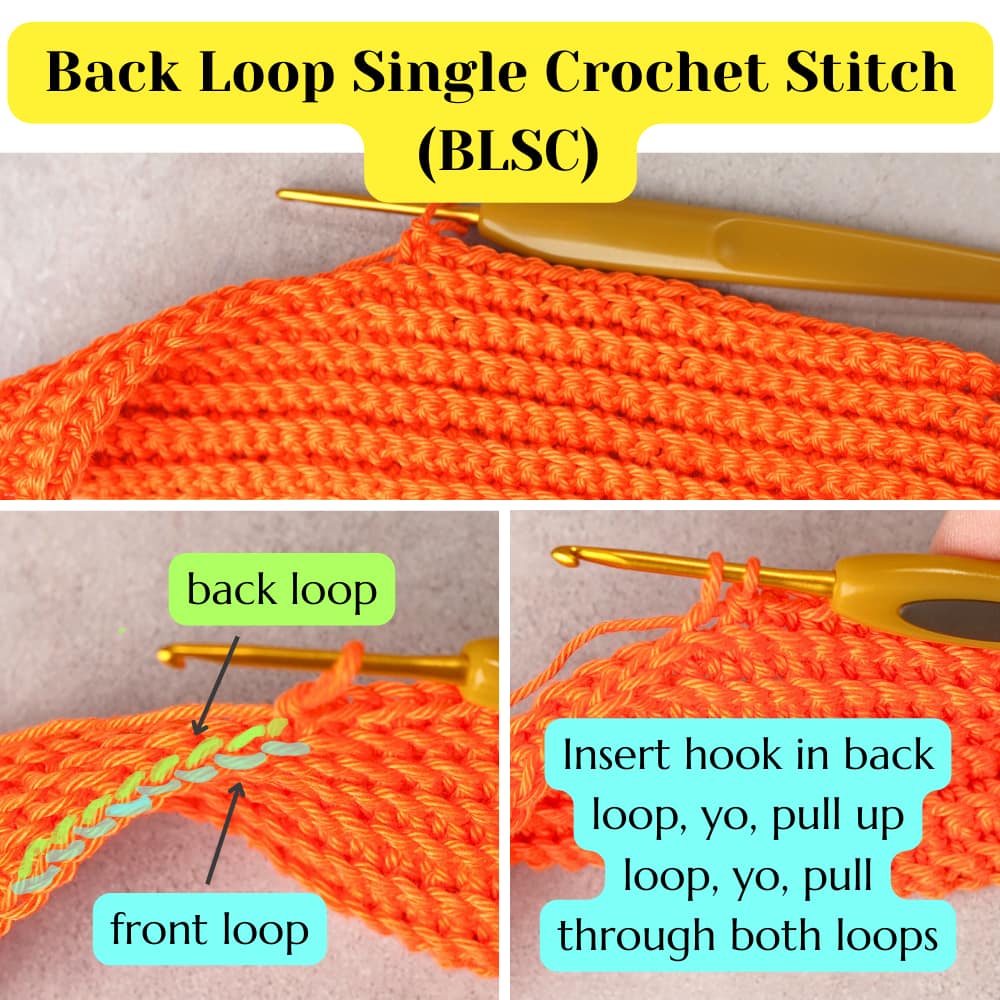
BLSC (Back Loop Single Crochet): Insert hook in back loop only of stitch, yarn over, pull up loop, yarn over, pull through both loops.
Gauge & Sizing:
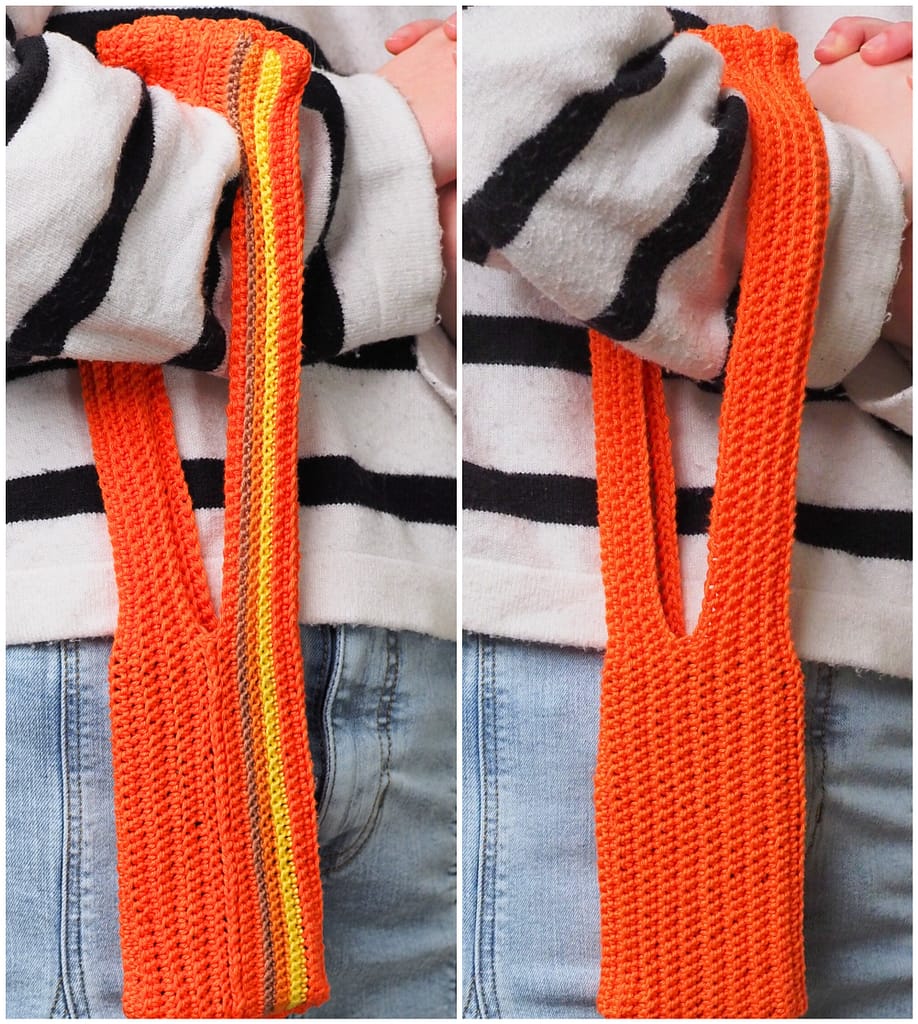
Size of a pocket: 3″ x 16″.
Sizing Note: This pattern is easily adjustable! Follow the repeat structure to accommodate different phone sizes (with or without a case).
The pattern fits a standard-size smartphone. Because the stitch is very stretchy, most phones under 3″ in width fit smoothly. Wider phones will fit as well, but the pocket may look more snug.
If you have a larger phone (e.g., iPhone Pro Max), add 2 rows to each side (4 rows total) to widen the pocket. Instead of 18 rows per side, work 20 rows. This adds about ¼″ in width.
My hand loop measures 8″, which corresponds to 44 sts in the pattern.
To wear your case as a crossbody phone pouch, measure from your shoulder/arm to your hip and adjust the foundation chains accordingly.
For example, to make a crossbody pouch with a 24″ pass-through loop, add 88 chains – your foundation chain would start with 176 chains, and your hand loop will also be extended by 88 chains.
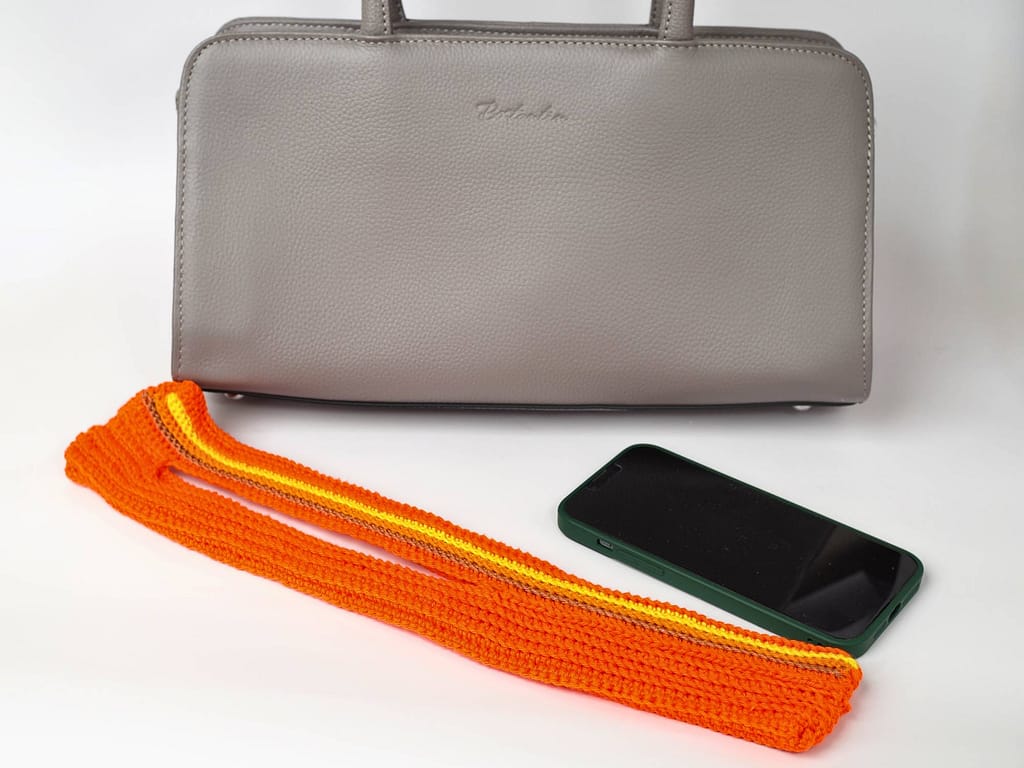
Customization Ideas:
I added 2-row color blocks in four different colors to personalize my phone pocket:
Row 30-31 yellow
Row 32-33 pumpkin
Row 34-35 light brown
Row 36-37 back to orange
To add color changes, simply introduce the new yarn during the last pull-through of the previous row.
Abbreviations:
St(s) = Stitch (es)
Ch = Chain stitch
Sc = single crochet
blsc = back loop single crochet = a single crochet stitch but only work into the back loop of the stitch from the previous row
RS = right side of your work
BS = back side of the pocket (indisde side)
Pattern is written in US terms.
How to Make the Back Loop Single Crochet Stitch (BLsc)
Quick Answer: Insert hook in back loop only of the stitch, yarn over, pull up loop, yarn over, pull through both loops. Read the BLSC Stitch full tutorial to get to know the technique, see comon mistakes and tips.
Here is an illustration to explain it faster and more clearly:
Free Crochet Chic Ribbed Phone Pocket Instructions
Here we go: let’s combine utility and aesthetics. This minimalist phone pocket is a great accessory for those of us who don’t want to carry our phones in our purses, but neither do we want to stuff our pants pockets. Below, is a tutorial that shows you step by step how to start and work it through to completion. This easy pattern produces an attractive and fun accessory that surprisingly usable.
Foundation:
Ch 88 + ch1.
Row 1:
Starting in the 2nd ch from the hook, sc on the back loop iof each ch. Ch1, turn.
(You may also work into the front side; the back-side version makes joining easier later.)
Row 2-18::
Blsc (back loop single crochet) across all stitches. Ch 1, turn. [88 blsc].
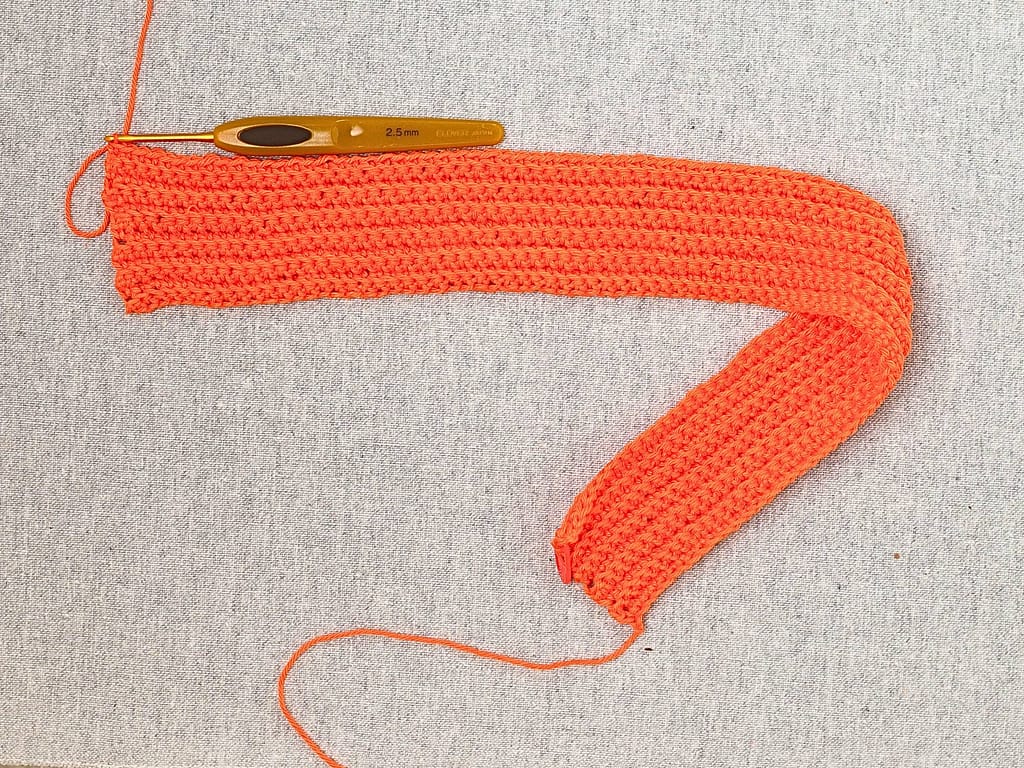
Row 19 – – Creating the Hand Loop:
36 blsc, ch 44, skip the stitches underneath, 8 blsc. Ch 1, turn.
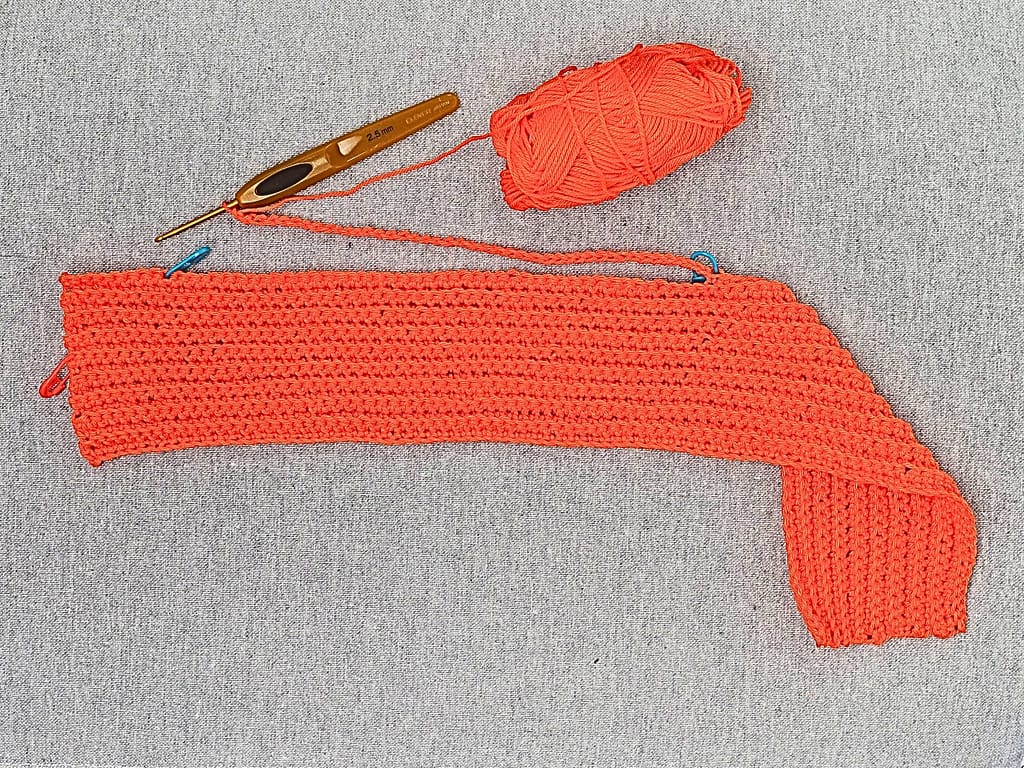
Row 20-37:
Blsc across all stitches. Ch 1, turn. [88 blsc].
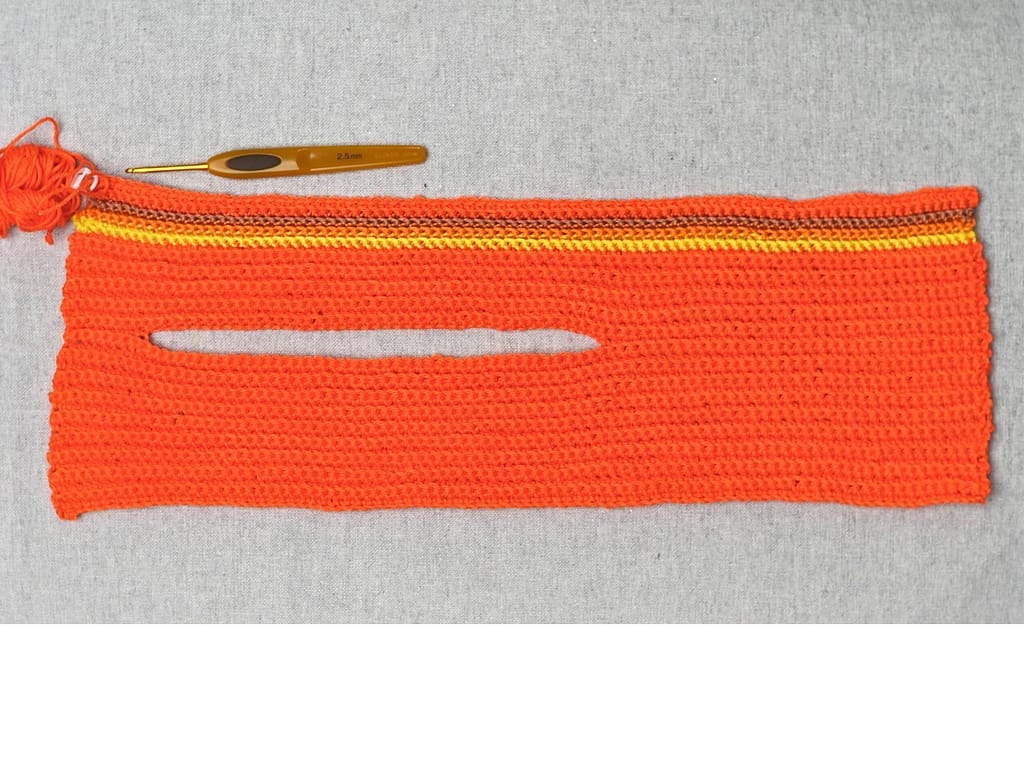
Row: 38- Joining the Pocket
Fold the pocket in half lengthwise, placing the hand loop (Row 19) at the back, centered. The join is worked on the right side, so ensure the RS of your pocket faces you.
- Join one side using 8 sc, working through the back loops of both layers.
- Fasten off.
- Reattach yarn at the opposite edge and join the remaining 36 sts the same way (sc through back loops of both sides).
Turn to the BS. Join the top and bottom edges with sc. Fasten off.
If you enjoy this pattern or notice anything that could be improved, feel free to leave a comment. I’m still learning, so your feedback is very welcome!
Happy crocheting!

Thank you!
Do I have to make the first row in a back loop of a chain? Does it matter? I always avoid doing that….
Thank you for this pattern! I’ve done a lot of BLO patterns and find that putting the last stitch of a row instead of through BLO makes for a nice straight edge without the uneven wobbles.